


How to Repot a Houseplant: Step-by-Step Guide
Posted on April 16 2026
In this article
Target keyword: `how to repot a plant` / `repotting houseplants`

Monthly search volume: ~12,000–18,000 combined
Intent: Informational — practical how-to with purchase intent (pot buyers)
Pillar: B (Care & Educational)
Publish date: Week 4, Day 3
CTA: Link to pots/planters collection + potting soil if sold
Tags: repotting, houseplant care, plant pots, potting mix, root bound
Thumbnail spec: 1200×628px (Open Graph / Facebook share) + 800×800px (square, Instagram / product card). Show hands removing a root-bound plant from a plastic nursery pot, with fresh terracotta pot and potting mix nearby. Text overlay: "How to Repot a Plant" in bold sans-serif, Tumbleweed Plants logo bottom-right. File format: JPEG, <150 KB. Alt text: "How to repot a houseplant step by step — Tumbleweed Plants Singapore"
---
Image alt text: How to repot a houseplant — step-by-step guide from Tumbleweed Plants Singapore
Repotting is one of those tasks that seems intimidating the first time and becomes completely routine after two or three plants. Done correctly, it gives your plant fresh nutrients, room to grow, and a renewed lease on life. Done wrong — in the wrong pot size, at the wrong time, or with the wrong soil — it can set a plant back for months.
This guide covers every step, including the mistakes that trip people up most often.
> Singapore note: Unlike temperate climates where repotting timing is tied to seasons, Singapore's year-round tropical warmth means you can repot almost any time — plants have no true dormant period here. That said, avoiding the hottest part of the day and giving the plant a few weeks to adjust in a shaded spot still applies.
---
When Does a Plant Need Repotting?
Plants don't need to be repotted on a schedule — they need to be repotted when they show signs of being root-bound or nutrient-depleted.
Signs it's time:
- Roots growing out of drainage holes
- Roots visibly circling the inside of the pot when you remove it
- The plant tips over easily (too top-heavy for the pot)
- Water runs straight through the pot without absorbing (extremely root-bound)
- Noticeably slower growth despite good light and water
- The plant hasn't been repotted in 2+ years
Signs it's NOT time:
- The plant is healthy, growing normally, and not showing the above signs
- The plant was just brought home (let it adjust for 2–4 weeks first)
- The plant just flowered (wait until blooms fade)
!Root-bound plant with roots circling and growing out of drainage holes
Alt text: Root-bound plant — roots growing out of drainage holes signal it's time to repot
---
When to Repot

Best time in temperate climates: Spring (March–May), at the start of the growing season.
In Singapore: You can repot year-round — there is no winter dormancy period for tropical plants. Plants in Singapore grow actively in every month of the year. That said, the practical best times are:
- Any time the signs above are present — don't wait for a "season"
- Avoid repotting during the hottest midday hours — do it in the morning or evening when temperatures are lower
- After a plant has settled in — give newly purchased plants 2–4 weeks to acclimatise before repotting
This is one of the genuine advantages of tropical gardening in Singapore: no need to time repotting around a cold season.
---
What You Need
- New pot (1–2 inches larger in diameter than current pot)
- Fresh potting mix appropriate for the plant type
- Drainage material (optional): perlite, bark, or coarse sand to improve drainage
- Gloves (optional, but recommended for plants with irritating sap — rubber plant, fiddle leaf fig, euphorbias)
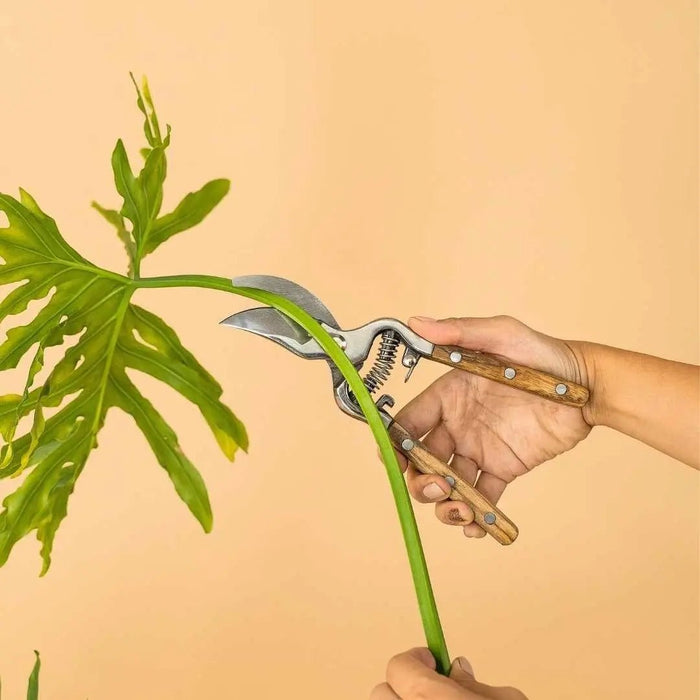
- Clean scissors or pruning shears (sterilized with rubbing alcohol)
- Newspaper or a tray to work on
Pot material note: Terracotta is ideal for overwatering-prone plants (succulents, snake plants). In Singapore's high humidity (70–85%), terracotta dries out faster than it would in temperate climates — this is actually a benefit. It reduces the risk of waterlogged soil and root rot, which is the most common plant killer in our climate. Plastic or glazed ceramic holds moisture longer, better for ferns and tropical plants in air-conditioned environments.
!Terracotta pots, plastic nursery pots, and potting mix arranged on a table
Alt text: What you need to repot a houseplant — pot, fresh potting mix, perlite, and gloves
> Where to buy in Singapore: Potting mix and perlite are available at Far East Flora (Thomson Road), World Farm (Neo Tiew Lane), and most NTUC FairPrice and Giant garden sections. Tumbleweed Plants carries premium potting mix suitable for most tropical houseplants.
---
Step-by-Step: How to Repot

Step 1: Water the Plant the Day Before
!Watering a plant the day before repotting
Alt text: Water your plant 24 hours before repotting — the moist root ball holds together better
A slightly moist root ball is much easier to work with than a bone-dry or soaked one. Water 24 hours before repotting so the soil holds together but isn't waterlogged.
Step 2: Prepare the New Pot
- Make sure the new pot has drainage holes
- Add a layer of fresh potting mix at the bottom — enough that the top of the root ball will sit about 1 inch below the pot rim (for watering space)
- Optional: mix perlite into the potting mix at a ratio of 1 part perlite to 3 parts soil for improved drainage
Step 3: Remove the Plant from Its Current Pot
!Removing a plant from its nursery pot — squeezing the sides and tilting sideways
Alt text: Removing a plant from its pot — squeeze the sides gently and tilt sideways
- Tilt the pot sideways and gently squeeze the sides (if plastic) or tap the bottom
- Support the base of the plant stems with one hand while the pot comes free with the other
- If the plant is stuck: run a clean knife or chopstick around the inside edge to loosen the root ball
- Do not yank by the stems — you risk snapping them
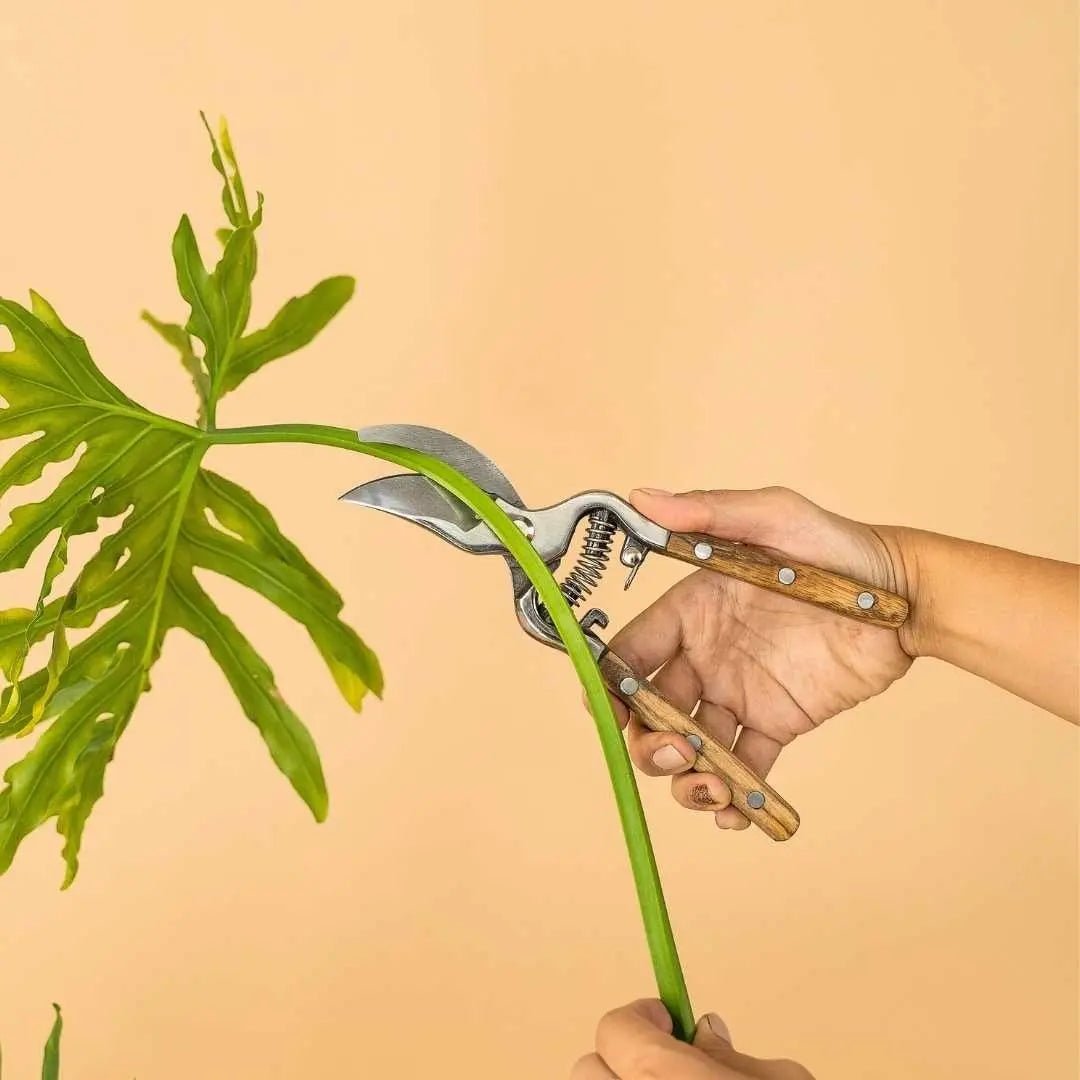
Step 4: Examine and Prepare the Root Ball
!Root ball of a houseplant — showing healthy white roots and some circling roots to trim
Alt text: Examining the root ball — healthy roots are white and firm, unhealthy roots are brown and mushy
With the plant out of the pot:
- Gently loosen and remove about 1/3 of the old soil from around and beneath the root ball
- Untangle any circling roots gently with your fingers
- Inspect roots: healthy roots are white to tan and firm; unhealthy roots are brown/black and mushy
- Use sterilized scissors to trim any dead, rotted, or excessively long circling roots
- If you see signs of root rot (mushy roots, foul smell), trim all affected roots back to healthy tissue
Step 5: Place in the New Pot
- Set the root ball in the center of the new pot
- The top of the root ball should sit about 1 inch below the rim
- Fill in around the sides with fresh potting mix, pressing gently to eliminate air pockets
- Do not pack the soil down firmly — roots need air pockets to breathe
- Leave 1 inch of space at the top for watering
Step 6: Water Thoroughly
- Water slowly and deeply until water runs from the drainage holes
- This settles the soil around the roots and eliminates air pockets
- Some soil settling is normal — add a little more potting mix if needed
Step 7: Post-Repot Care
- Place in bright indirect light (not direct sun) for 2–4 weeks while the plant adjusts
- Reduce watering slightly for the first 2–3 weeks — the fresh soil retains more moisture than compacted old soil
- Do not fertilize for 4–6 weeks — fresh potting mix contains nutrients; fertilizing too soon can burn stressed roots
- Some leaf wilting or drop is normal in the first 1–2 weeks — this is transplant stress, not failure
---
Common Repotting Mistakes
Going too large: A pot much larger than the current one holds more soil than the roots can use. That excess soil stays wet, leading to root rot. Stick to 1–2 inches larger.
Using the wrong soil: Standard potting mix is suitable for most tropical plants. Succulents and cacti need a well-draining mix (cactus mix or 50/50 potting soil + perlite). Orchids need bark-based orchid mix. Never use garden soil in pots — it compacts and doesn't drain.
Not checking drainage: If the new pot doesn't have drainage holes, root rot is almost inevitable. Always verify before planting.
Fertilizing too soon: Fresh potting mix already has nutrients. Adding fertilizer on top creates salt overload. Wait 4–6 weeks.
Burying the crown/base: The base of the plant should be at the same level as in the previous pot. Burying the crown deeper invites rot.
> Singapore-specific mistake to avoid: Because Singapore is so humid, overwatering after repotting is a common pitfall. Fresh potting mix + high ambient humidity = soil that stays moist far longer than you expect. Check the soil with your finger before watering — only water when the top 1–2 inches are dry.
---
Repotting Specific Plants

Succulents and cacti: Use cactus/succulent mix. Let the plant dry out for several days before repotting. After repotting, wait a week before watering to allow any root damage to callus.
Orchids: Use bark-based orchid mix. Remove all old bark and dead roots. Don't bury the base — it needs air. Repot every 1–2 years or when bark starts to decompose.
Peace lily / prayer plant: Likes to be slightly root-bound. Only repot when clearly necessary. Keep soil consistently moist before and after.
Fiddle leaf fig: Repot carefully and only when clearly needed. Changes cause stress and leaf drop. In Singapore's warmth, it recovers faster than in temperate climates — but still minimize disturbance.
---
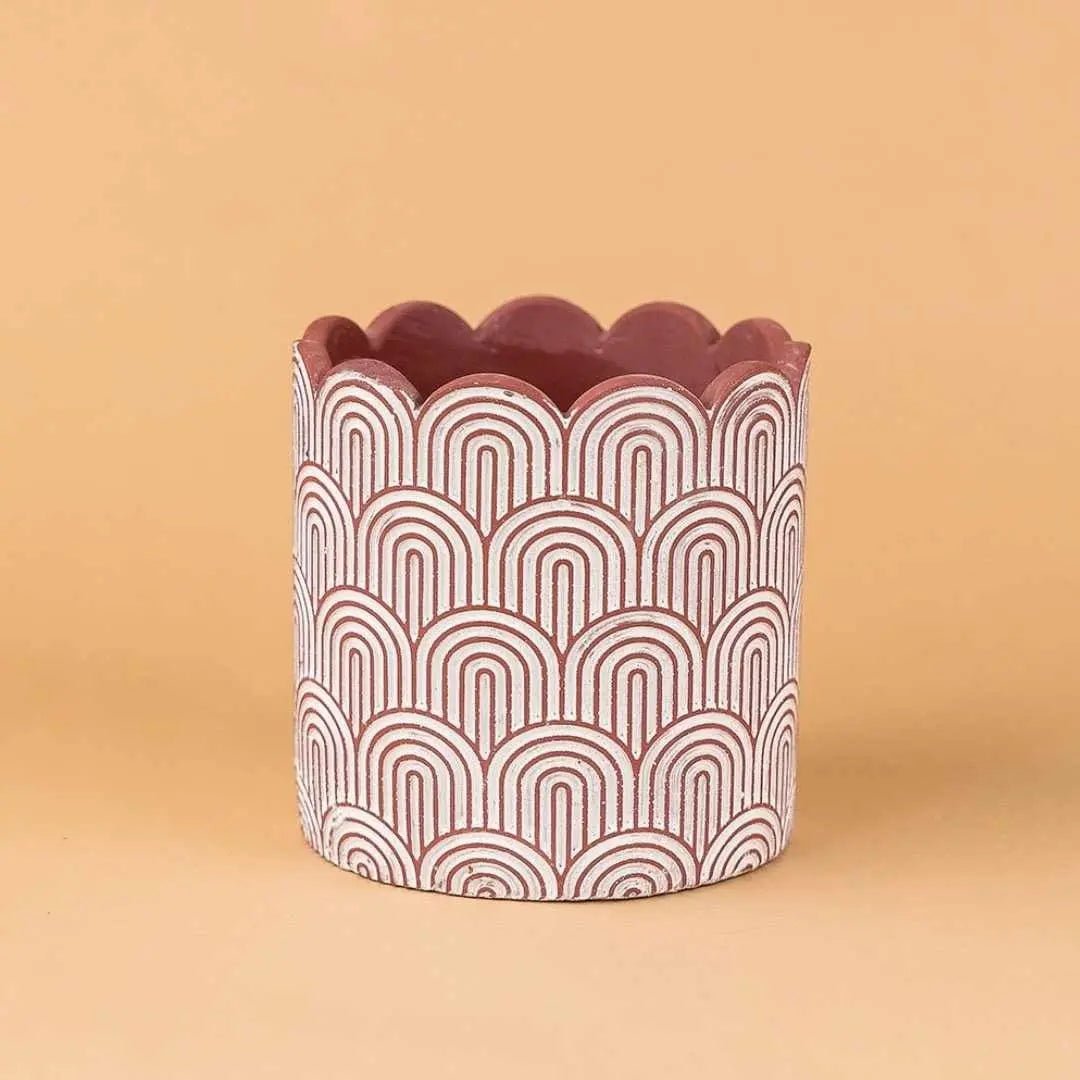
Shop Pots and Potting Mix
Browse our planter collection — terracotta, glazed ceramic, and modern designs in every size, all with drainage holes.
Need potting mix? We carry premium potting mix and cactus/succulent mix formulated for indoor use — available via our full plant collection.
Need a plant to repot into your new pot? Browse our same-day delivery collection for plants delivered today.
---
Quick summary
Key Takeaways
- When Does a Plant Need Repotting?
- When to Repot
- What You Need
- Step-by-Step: How to Repot
- Common Repotting Mistakes
- Repotting Specific Plants
Ready to bring some green into your home?
Browse 250+ hand-picked plants, curated for Singapore homes — delivered to your door.
Browse All Plants →