


How to Repot a Houseplant Step by Step | Tumbleweed Plants Singapore
Posted on April 10 2026
In this article
Repotting is one of the most important — and most commonly botched — plant care tasks. Done right, it gives your plant room to grow, fresh nutrients, and better drainage. Done wrong, it stresses the plant, damages roots, and can cause weeks of decline. The difference between the two comes down to timing, technique, and soil choice.

This guide walks you through the complete repotting process, from knowing when it is time to the aftercare that ensures your plant recovers quickly.
When to Repot
Signs It Is Time
- Roots emerging from drainage holes. The root system has filled the pot and is looking for more space.
- Water runs straight through. So much root mass, so little soil — water cannot be retained.
- The plant is top-heavy or unstable. Above-ground growth has outgrown the root system's ability to anchor it.
- Growth has stalled. Despite good light, watering, and fertilising, the plant is not producing new leaves.
- Roots are circling the pot surface. When you remove the plant, you see a solid wall of circling roots.
- The soil has degraded. Old soil compacts, loses drainage, and becomes hydrophobic (repels water instead of absorbing it).
When NOT to Repot
- Immediately after buying. Give the plant 2-4 weeks to acclimate to your home before adding repotting stress.
- During a pest infestation. Treat the pests first. Repotting adds stress that weakens the plant's defences.
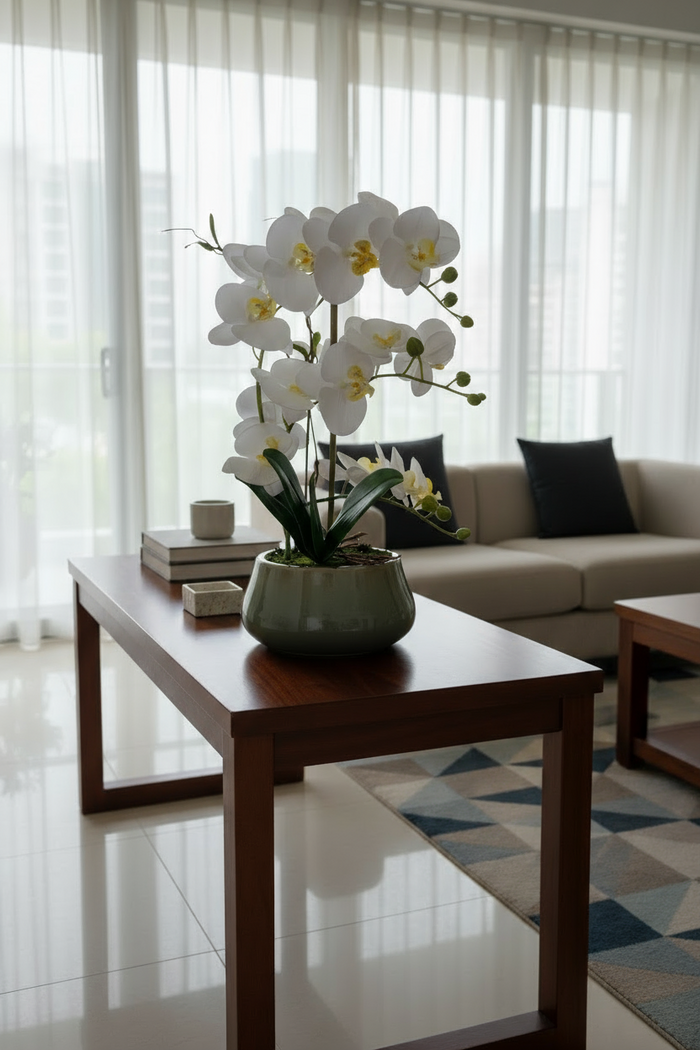
- When the plant is blooming. Repotting can interrupt the bloom cycle. Wait until flowers have faded.
- If it is not root-bound. If the plant has adequate soil and room to grow, repotting is unnecessary stress.
Best Time in Singapore
Year-round. Singapore has no dormant winter period, so plants recover from repotting in any month. That said, repotting during a growth spurt (when you see active new leaves) gives the plant the best recovery conditions.
What You Need

- New pot — 2-3cm larger in diameter than the current pot. With drainage holes. (Non-negotiable.)
- Fresh potting mix — Appropriate for the plant species. Pre-mixed or custom-blended.
- Perlite — For improving drainage (25-30% of the mix for most plants).
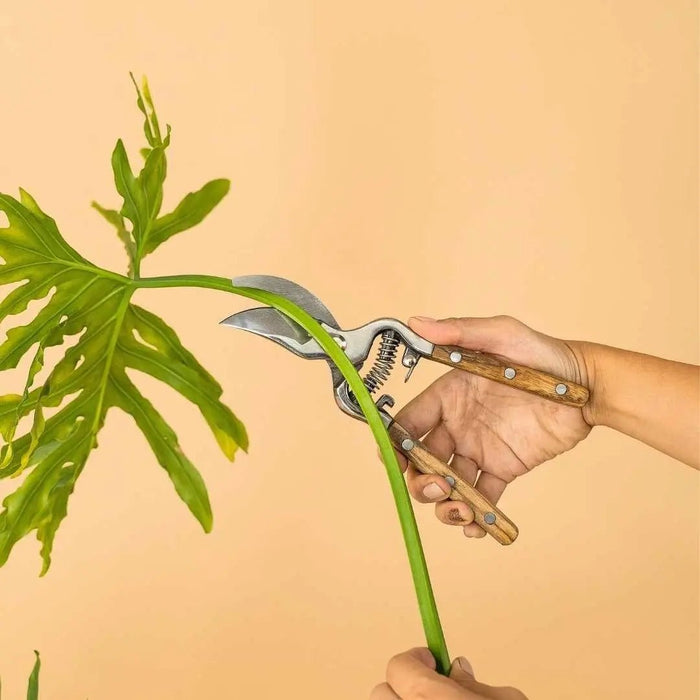
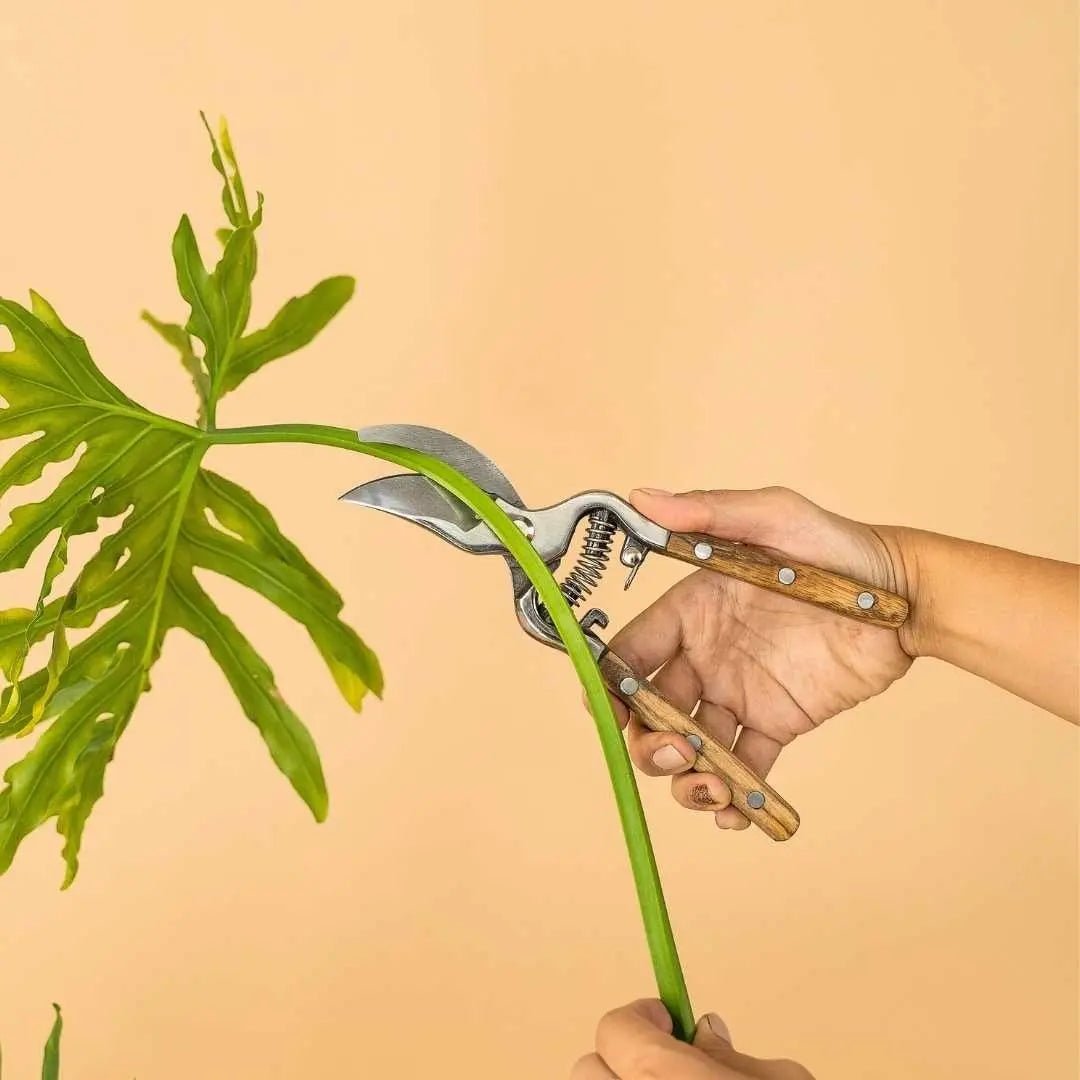
- Clean scissors or pruning shears — For trimming dead or rotting roots.
- Newspaper, towel, or tray — To contain the mess.
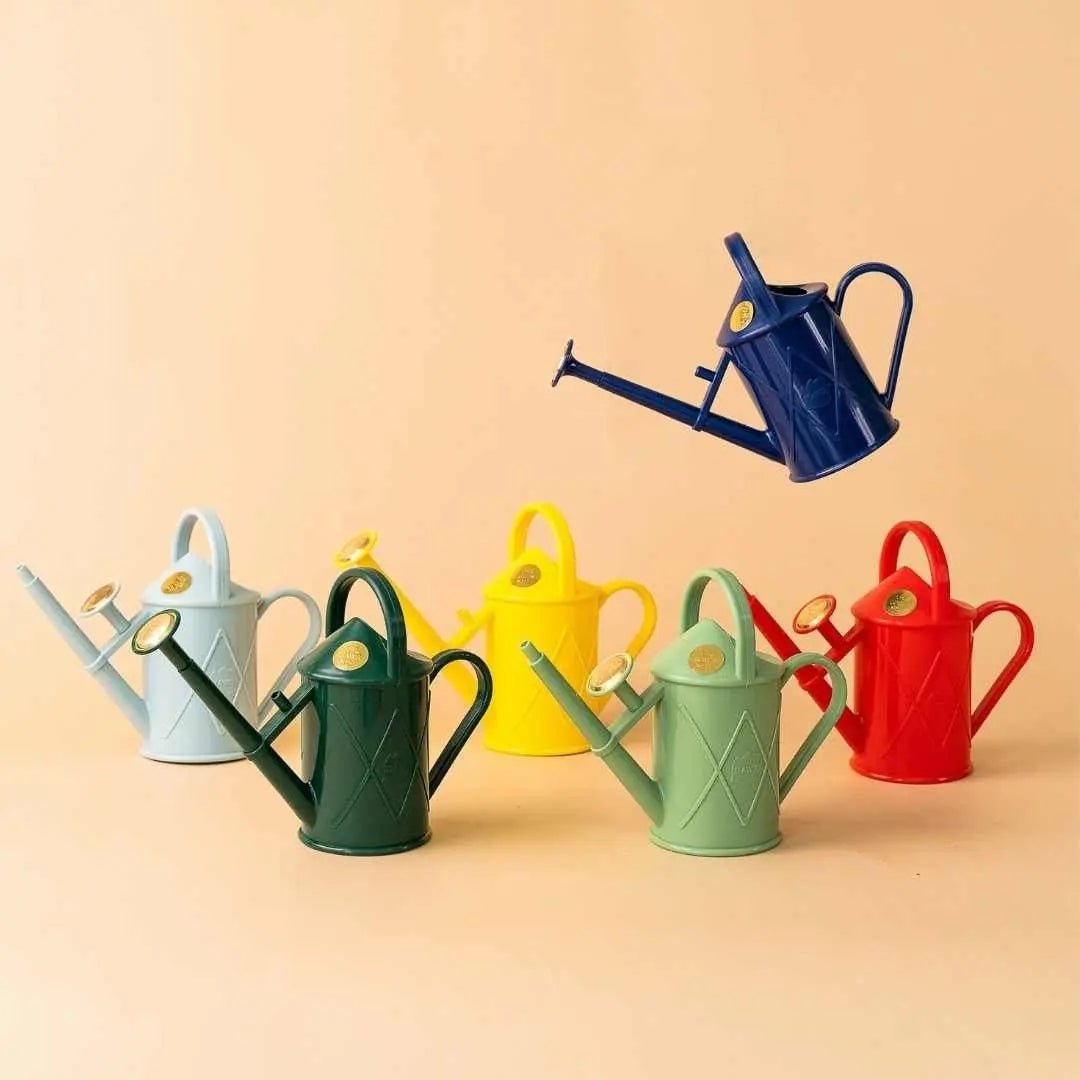
- Watering can — For the post-repot watering.
- Gloves (optional) — Especially for plants with irritating sap (Dieffenbachia, Rubber Plant, Euphorbia).
Step-by-Step Repotting
Step 1: Water 1-2 Days Before
Water the plant thoroughly 1-2 days before repotting. Slightly moist soil slides out of the pot more easily than bone-dry soil (which crumbles) or soaking-wet soil (which is heavy and messy). Moist roots are also more flexible and less likely to break.
Step 2: Prepare the New Pot
Add a layer of fresh potting mix (with perlite mixed in) to the bottom of the new pot. The depth should be enough so that when you place the plant inside, the top of the root ball sits 1-2cm below the pot rim. This space allows for watering without overflow.
Drainage layer myth: You do not need stones or broken pottery at the bottom. Research shows that a gravel layer does not improve drainage — it creates a perched water table that actually holds moisture near the roots. Fresh, well-draining soil throughout the pot is better.
Step 3: Remove the Plant
- Plastic pots: Squeeze the sides to loosen the root ball. Turn the pot upside down while supporting the plant base. Slide the plant out.
- Ceramic or terracotta: Run a butter knife or thin spatula around the inside edge to loosen. Tip and gently pull the plant out.
- Stubborn plants: Tap the pot rim on a table edge. If the plant will not budge, you may need to break the pot (for ceramic) or cut it (for plastic). Do not force — you will damage roots.
Step 4: Inspect the Roots
This is your diagnostic moment:
- Healthy roots: White or tan, firm, flexible. Good — proceed normally.
- Circling roots: Growing in tight circles around the root ball. Need loosening.
- Brown/mushy roots: Dead or rotting. Need trimming.
- Dense mat of roots at the bottom: Normal for root-bound plants. Loosen or trim.
Step 5: Loosen the Root Ball
- Gently tease apart the outer roots with your fingers
- Break up the bottom mat of circling roots
- For severely root-bound plants: make 3-4 shallow vertical cuts with clean scissors along the sides of the root ball to encourage outward growth
Do not: Wash all the soil off the roots (unnecessary shock) or untangle every root (impossible and damaging). Gentle loosening is sufficient.
Step 6: Trim Dead Roots
Using clean scissors:
- Cut away any brown, mushy, or clearly dead roots
- Cut back to healthy white tissue
- Remove the bottom mat of tightly wound roots if it is very dense
Step 7: Position the Plant
- Centre the plant in the new pot
- The top of the root ball should sit 1-2cm below the rim
- The plant should sit at the same depth as before — do not bury the stem deeper
Step 8: Fill with Soil
- Add fresh potting mix (with perlite) around all sides of the root ball
- Use your fingers or a chopstick to work soil into gaps — air pockets around roots cause dehydration
- Tap the pot on the table to settle soil
- Press gently — firm enough to support the plant, loose enough to drain
Step 9: Water Thoroughly
- Water slowly and thoroughly until it drains from the bottom
- This settles the soil around the roots and eliminates remaining air pockets
- Add more soil if it settles significantly after watering
Step 10: Placement
- Place in bright indirect light — not direct sun
- The plant is recovering from root disturbance and needs gentle conditions
- Do not place in a dark corner "to rest" — it needs light to produce the energy for recovery
Aftercare

First 2 Weeks
- Water carefully. Let the top 2-3cm dry before watering again. Freshly disturbed roots are vulnerable to rot.
- No fertiliser for 4-6 weeks. Fresh soil contains nutrients. Fertiliser salts on recovering roots cause burn.
- Expect some drooping. Mild wilting for 2-5 days after repotting is normal. The root system is reestablishing water uptake.
- Expect some leaf drop. 1-3 leaves dropping in the first week is normal, especially for Ficus species.
After 2 Weeks
- The plant should look stable — no more drooping, no continued leaf drop
- New growth may appear as the plant settles into its new space
- Resume normal watering and begin fertilising after 4-6 weeks
Common Mistakes
Going Too Big
A pot that is much larger than the root ball contains excess soil that stays wet, creating root rot conditions. Always increase pot size by only 2-3cm in diameter.
Reusing Old Soil
Old, degraded soil is compacted, nutrient-depleted, and may harbour pests or pathogens. Always use fresh potting mix.
Burying the Stem
Planting deeper than the original soil level can cause stem rot. Maintain the same planting depth.
Repotting During Stress
Repotting a plant that is already stressed (from pests, disease, severe overwatering, or recent relocation) compounds the stress. Address one issue at a time.
Forgetting Drainage Holes
Every pot needs drainage holes. If your dream pot does not have drainage, use it as a cache pot — place the nursery pot (with drainage) inside.
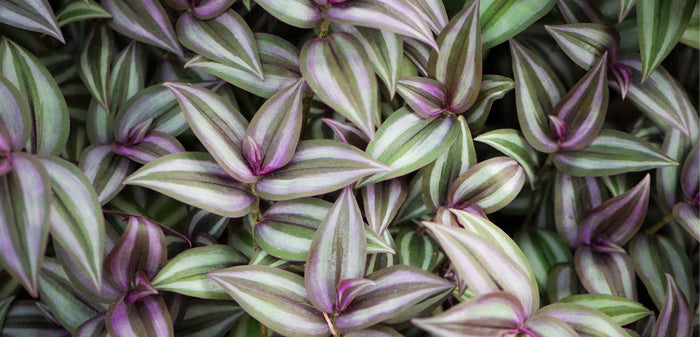
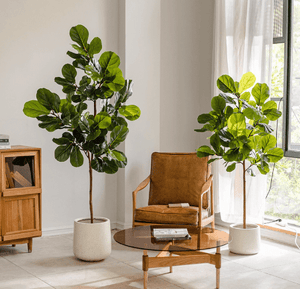
Shop Plants
Browse our indoor plant collection for healthy plants in quality soil, delivered across Singapore. When it is time to repot, you will know — and now you know how.
Repotting is not complicated. It is a 15-minute task with a few critical rules: go up only one size, use fresh soil with good drainage, loosen the roots, water thoroughly, and do not fertilise for a month. Get these right and the plant recovers within weeks, rewarding you with a flush of new growth fuelled by fresh soil and room to spread. Get them wrong and you spend weeks watching a stressed plant slowly recover from a well-intentioned mistake. The instructions are simple. Follow them exactly. Your plant will tell you — through new leaves, stronger growth, and visible happiness — that you did it right.
Quick summary
Key Takeaways
- When to Repot
- What You Need
- Step-by-Step Repotting
- Aftercare
- Common Mistakes
- Shop Plants
Ready to bring some green into your home?
Browse 250+ hand-picked plants, curated for Singapore homes — delivered to your door.
Browse All Plants →