


How to Repot a Houseplant Step by Step | Tumbleweed Plants Singapore
Posted on April 10 2026
In this article
Repotting is the most impactful thing you can do for a plant's long-term health. Fresh soil, adequate root space, and proper drainage give your plant a growth reset — new nutrients, better aeration, and room to expand. Yet many plant owners avoid repotting because it feels intimidating. What if you damage the roots? What if the plant goes into shock?

The truth is that repotting is straightforward. Plants are tougher than you think, and the benefits far outweigh the temporary stress. This step-by-step guide covers everything from knowing when to repot to aftercare that minimises transplant shock.
When to Repot
Signs Your Plant Needs Repotting
Roots growing out of drainage holes — The clearest signal. The root system has outgrown the pot and is searching for more space.
Roots circling the soil surface — Visible root mass at the top of the soil, matting in circles.
Water runs straight through — The root ball is so dense that water cannot soak in — it drains immediately without being absorbed.
Soil dries within 1-2 days of watering — The root-to-soil ratio is too high. There is not enough soil to retain moisture.
Plant is top-heavy and tips over — The above-ground growth has outpaced the root-and-pot system.
Stunted growth despite good conditions — The plant has stopped producing new leaves even with adequate light, water, and fertiliser. It has exhausted its current soil and space.
When NOT to Repot
The plant is flowering — Repotting during blooming can cause the plant to drop flowers. Wait until blooming ends.
The plant is newly purchased — Let a new plant acclimate to your home for 2-4 weeks before repotting. The stress of transport plus repotting is too much at once.
The plant is stressed or sick — A plant dealing with pest infestation, root rot recovery, or environmental stress should not be repotted until stabilised (exception: repotting to treat root rot itself).
The plant prefers being root-bound — Some plants (Hoya, Peace Lily, Snake Plant) bloom or produce offsets more readily when slightly constrained. Repot these only when truly necessary.
Best Time to Repot
In Singapore, plants grow year-round, so there is no strictly wrong time. However:
- Best: February to April (the start of the warmest, longest days — plants are in active growth mode)
- Good: Any time except during extreme stress or blooming
- Avoid: Immediately after purchase or during pest treatment
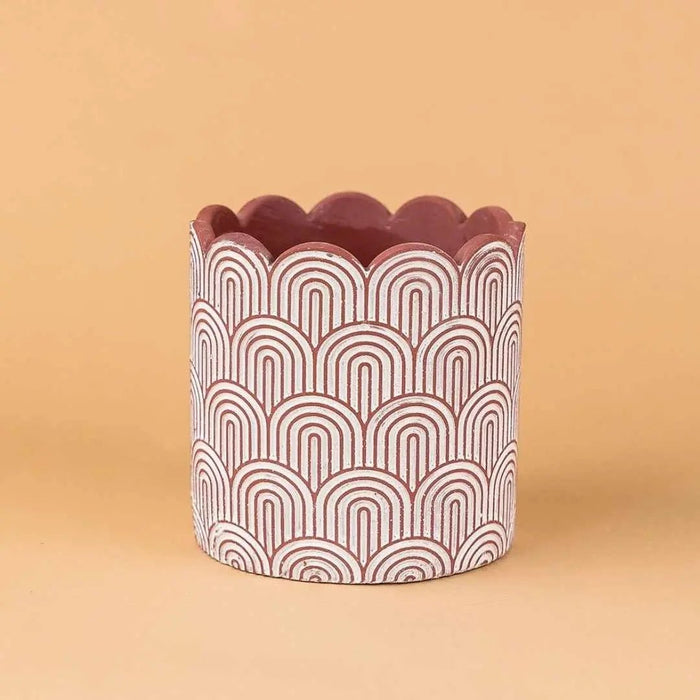
What You Need

- New pot (2-5cm larger in diameter than the current pot)
- Fresh potting mix appropriate for your plant type
- Drainage material (optional — broken pottery shards, LECA, or pebbles for the base)
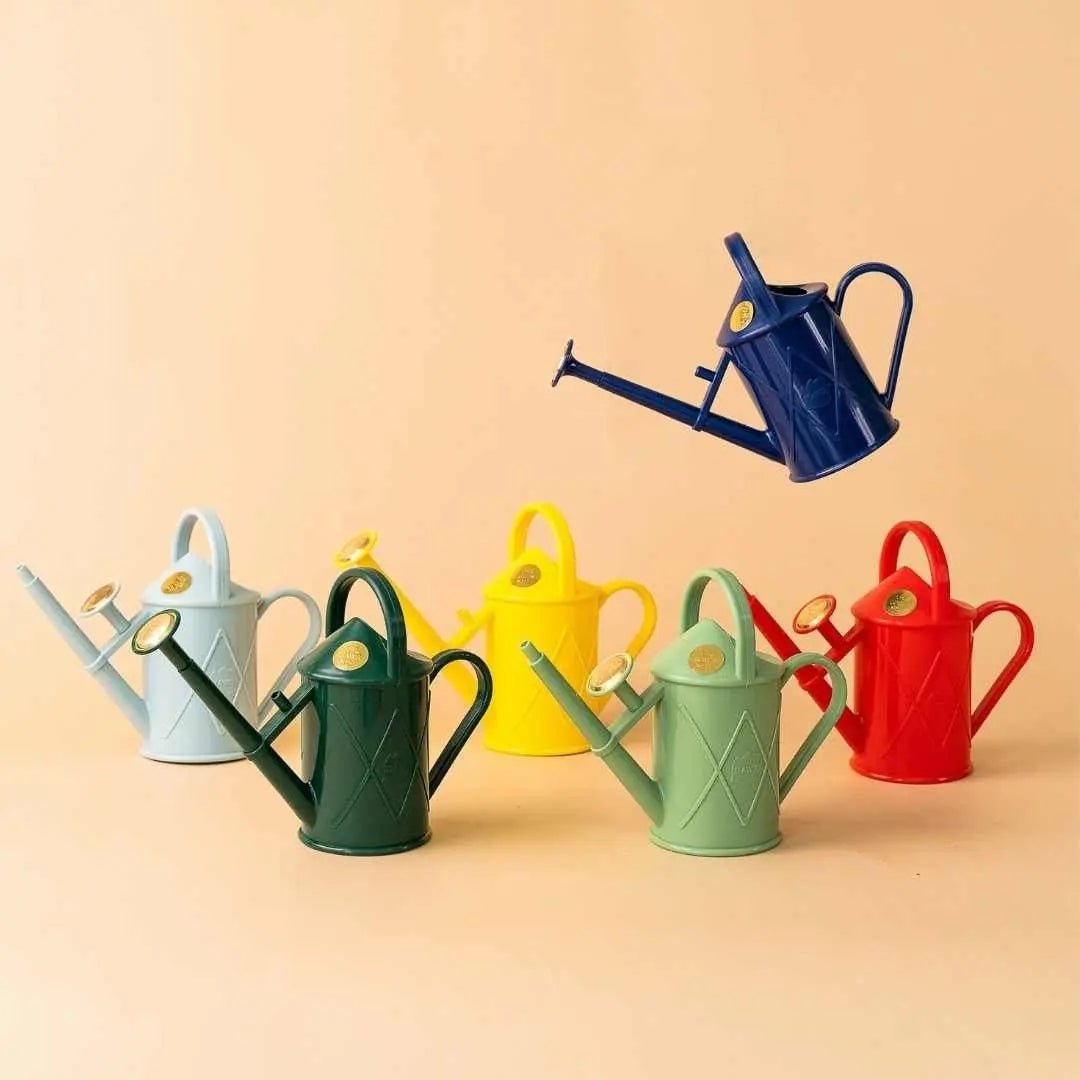
- Watering can
- Trowel or large spoon
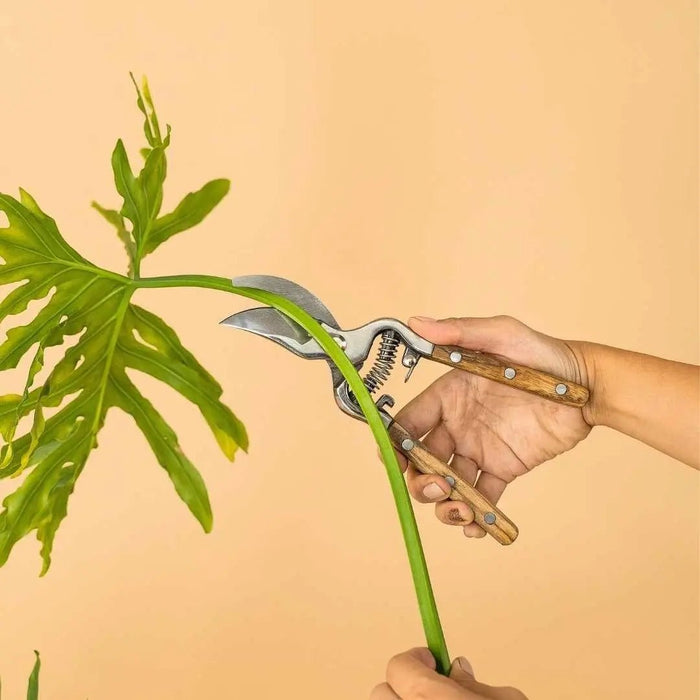
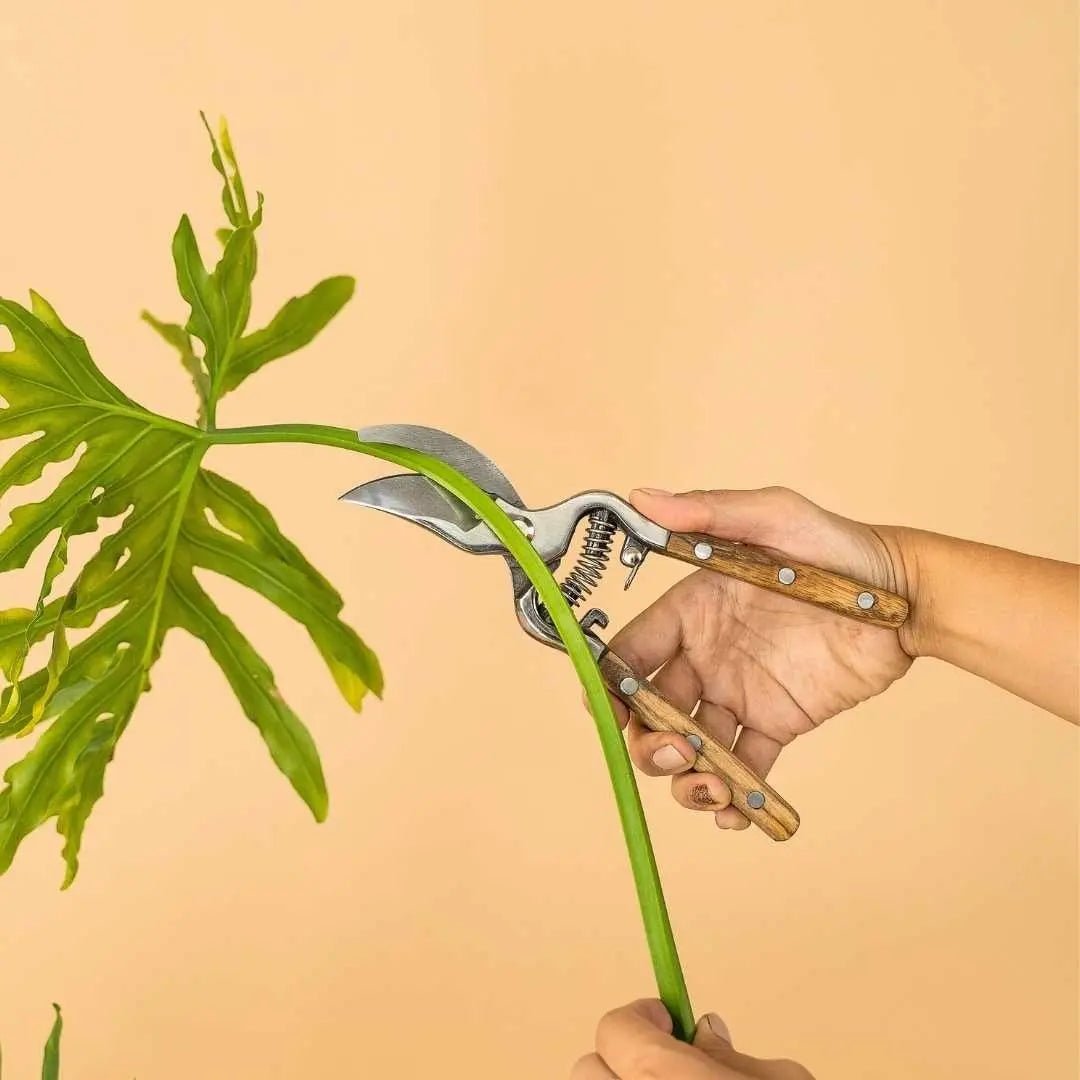
- Clean scissors or pruning shears (for root trimming if needed)
- Newspaper or tarp to protect your work surface
Step-by-Step Repotting
Step 1: Water the Plant (Day Before)
Water the plant a day before repotting. Moist soil is easier to work with than dry soil — the root ball holds together, and roots are more pliable and less likely to break.
Step 2: Prepare the New Pot
If the pot has drainage holes (it should), place a small piece of mesh or a pottery shard over each hole to prevent soil from washing out. You do not need a thick layer of rocks — this is an outdated myth that actually reduces drainage by creating a perched water table.
Add a layer of fresh soil to the bottom of the new pot — enough that the plant will sit at the same depth it was in the old pot.
Step 3: Remove the Plant
Turn the old pot on its side and gently slide the plant out. If stuck:
- Squeeze the sides of a plastic pot to loosen the root ball
- Run a butter knife around the inside edge of a ceramic pot
- Gently tap the bottom of the pot
- Do not pull the plant by the stems — this damages both stems and roots
Step 4: Inspect and Prepare the Roots
Examine the root ball:
- Healthy roots: White or light tan, firm, pliable. Proceed to Step 5.
- Root-bound: Dense mat of circling roots. Gently tease out the outer roots with your fingers. For severely root-bound plants, make 3-4 shallow vertical cuts through the outer root mass with clean scissors — this encourages new root growth outward.
- Root rot: Soft, brown, mushy roots. Trim all affected roots with clean scissors. Repot in fresh, fast-draining soil.
Shake or gently brush off old soil from the root ball. You do not need to remove all old soil — just the loose material.
Step 5: Position in the New Pot
Place the plant in the centre of the new pot. Check the height:
- The top of the root ball should sit 1-2cm below the pot rim (to allow for watering)
- The plant should be at the same soil depth as before — do not bury the stem deeper
Adjust the bottom soil layer up or down as needed.
Step 6: Fill With Soil
Add fresh soil around the root ball, filling the gaps between roots and pot walls:
- Work the soil in gently with your fingers or a chopstick
- Tap the pot on the table to settle soil and remove air pockets
- Do not compact the soil tightly — roots need air spaces
- Fill to 1-2cm below the pot rim
Step 7: Water Thoroughly
Water the freshly potted plant until water drains from the bottom. This:
- Settles the soil around the roots
- Eliminates air pockets
- Ensures the roots make contact with moist soil
- Hydrates the fresh soil mix
You may need to add more soil after watering as it settles. Top up to maintain the 1-2cm gap below the rim.
Step 8: Aftercare
Do not fertilise for 4-6 weeks. Fresh potting mix contains nutrients. Fertilising immediately can burn newly disturbed roots.
Place in the same location the plant was in before (or slightly lower light for the first week). Do not introduce new environmental stresses simultaneously.
Do not water again until the soil begins to dry. The fresh soil is already moist from the repotting watering.
Expect some stress. Minor wilting, a dropped leaf or two, and slowed growth for 1-2 weeks are normal. The plant is establishing roots in new soil.
Soil Mixes by Plant Type

Tropical Foliage (Monstera, Philodendron, Aglaonema)
- 50% potting mix
- 25% perlite
- 25% orchid bark
Succulents and Cacti
- 40% potting mix
- 30% perlite
- 30% coarse sand or pumice
Aroids (Monstera, Philodendron, Alocasia)
- 40% potting mix
- 30% perlite
- 20% orchid bark
- 10% charcoal
Ferns
- 60% potting mix (peat or coco coir based)
- 20% perlite
- 20% worm castings
Common Repotting Mistakes
Pot Too Large
Going more than one size up leaves excess soil that stays wet and promotes root rot. Stick to 2-5cm larger in diameter.
No Drainage Holes
Pots without drainage holes guarantee root rot eventually. Always use pots with drainage or drill your own holes.
Burying the Stem
Planting deeper than the original level can rot the stem. Keep the soil line at the same height.
Repotting at the Wrong Time
Repotting a stressed, sick, or newly purchased plant adds stress on top of existing problems. Stabilise first, repot second.
Compacting Soil Too Tightly
Pressing soil down firmly removes the air spaces that roots need. Gentle settling and tapping is enough.
Shop Plants and Supplies

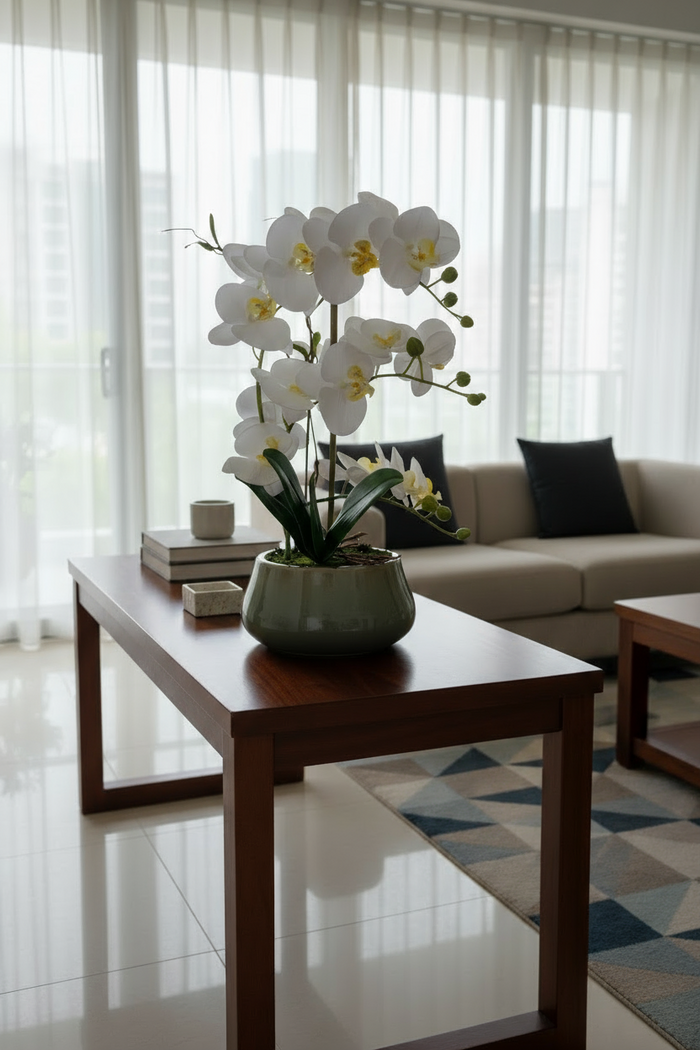
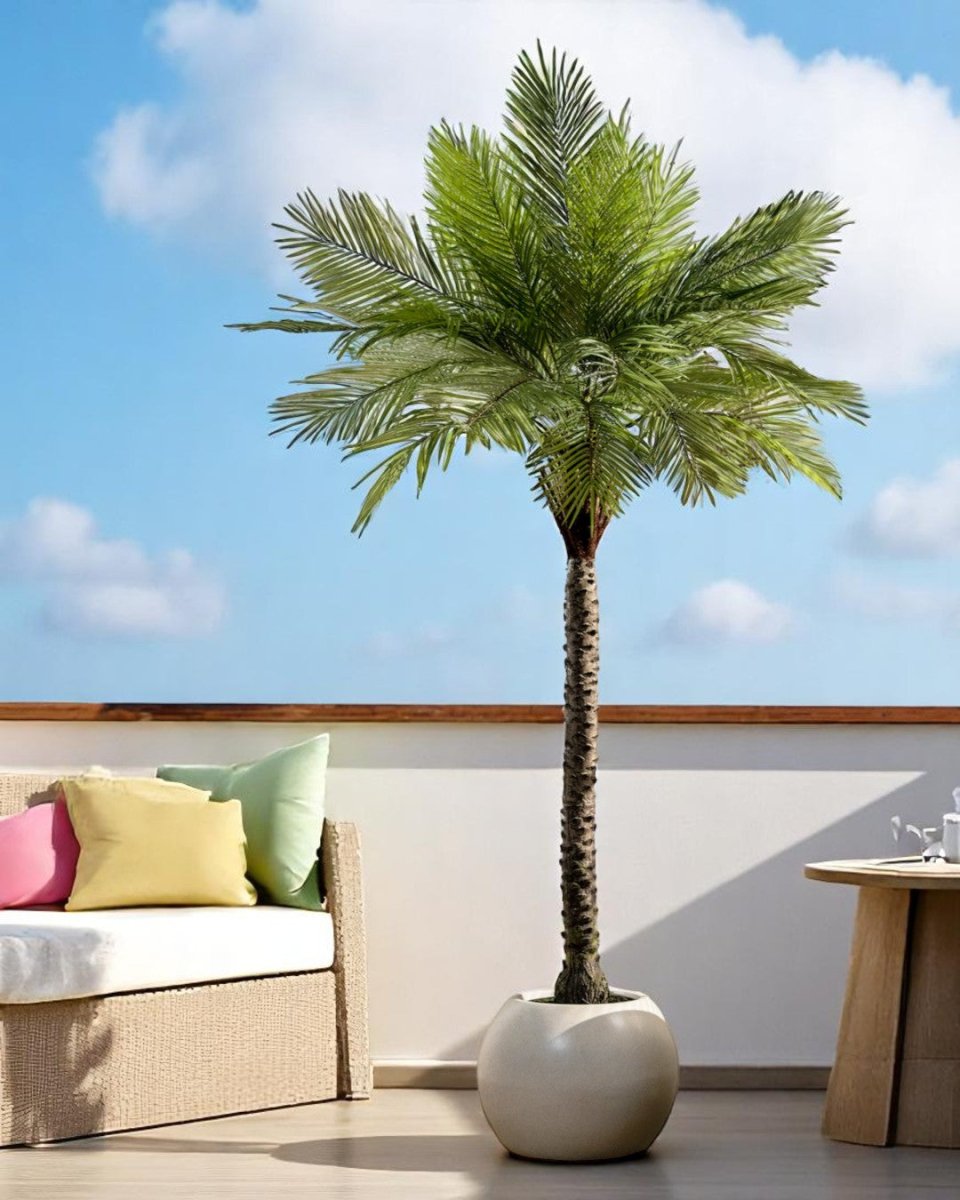
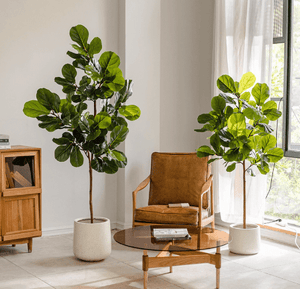
Browse our indoor plant collection for healthy plants delivered across Singapore. Every plant ships in a well-sized nursery pot — ready for you to upgrade to your chosen planter when the time is right.
Repotting is not a risk — it is a service you perform for your plant. Fresh soil, adequate space, and proper drainage are the foundation of every healthy houseplant. Learn to do it confidently, and you remove one of the last barriers between you and a thriving indoor garden.
Quick summary
Key Takeaways
- When to Repot
- What You Need
- Step-by-Step Repotting
- Soil Mixes by Plant Type
- Common Repotting Mistakes
- Shop Plants and Supplies
Ready to bring some green into your home?
Browse 250+ hand-picked plants, curated for Singapore homes — delivered to your door.
Browse All Plants →