


How to Acclimate Plants After Buying in Singapore | Tumbleweed Plants Singapore
Posted on April 10 2026
In this article

You just bought a new plant. It is beautiful, healthy, and full of promise. You bring it home, find the perfect spot, and wait for it to thrive. Instead, within a week, leaves start dropping. Or yellowing. Or curling. You did nothing wrong — but the plant looks worse than when you bought it.
This is transplant shock, and it happens to almost every new plant. The journey from nursery to shop to your home involves dramatic environmental changes — different light levels, different humidity, different temperature, different airflow. Even the orientation of the plant to the light source changes. Your plant needs time to adjust, and the first two weeks in your home are the most critical.
Why New Plants Struggle
Environmental Shift
Nurseries grow plants in near-ideal conditions — carefully controlled light (often grow lights or shade cloth), high humidity, consistent watering schedules, and optimised soil. Your home is different. Even a great home environment is different from a nursery.
The shift from nursery brightness to your living room's indirect light, from 80% humidity to your AC room's 55%, from daily watering by automated systems to your weekly schedule — these are significant changes that the plant must adapt to.
Transport Stress
The journey matters. A plant that sat in a hot delivery van, was jostled in transit, or spent hours in a dark box has already been stressed before reaching your home.
Light Orientation
In the nursery, each leaf developed to optimise light capture from a specific direction. When you place the plant in your home, the light comes from a different angle. Leaves that were in full light are now shaded, and vice versa. The plant must reorganise its energy allocation.
The Two-Week Acclimation Protocol

Week 1: Observation
Day 1-3: Placement
- Place the plant in a spot with bright indirect light — even if you plan to put it in a lower-light location eventually. The plant needs stable, decent light while it adjusts to other changes.
- Do not place directly in front of an AC vent. Temperature shock compounds transport stress.
- Keep the plant in its nursery pot. Do not repot during the first week.
Day 3-7: Monitor
- Check soil moisture. If the plant arrived with dry soil, water thoroughly. If moist, wait until the top 2-3cm dries.
- Expect some leaf drop. Losing 1-3 lower leaves during the first week is normal for most plants. It is the plant shedding foliage it can no longer support in the new conditions.
- Do not fertilise. The plant is stressed — fertiliser salts on sensitive roots make things worse.
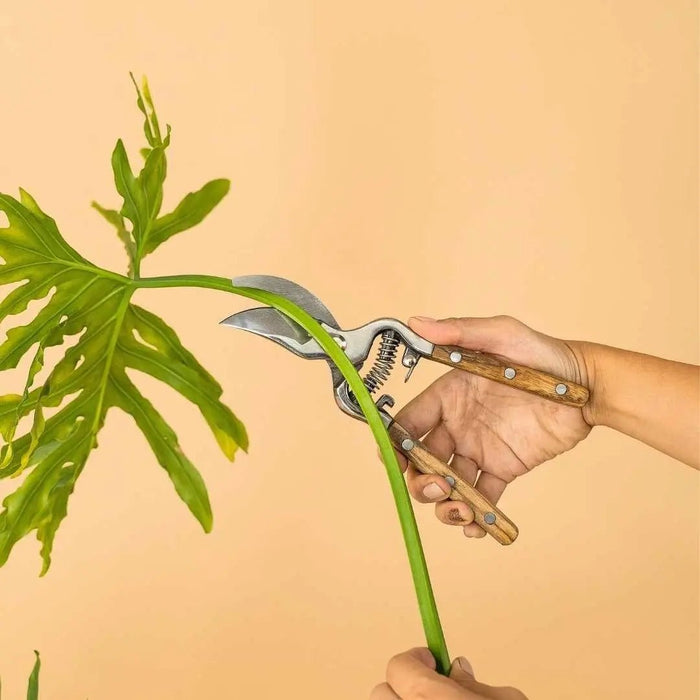
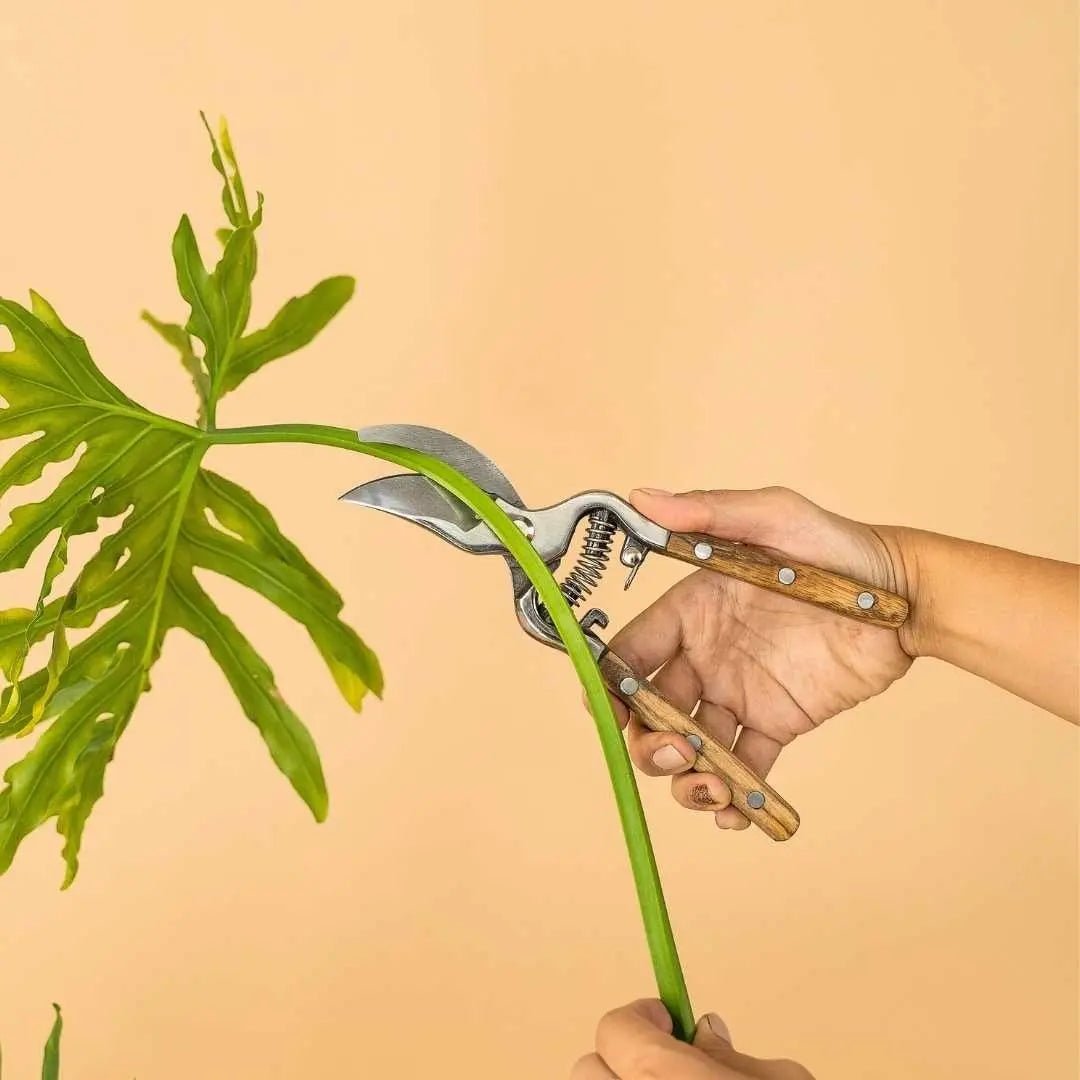
- Do not prune (unless removing clearly dead or damaged leaves).
Week 2: Gradual Adjustment
Day 7-14: Transition
- If you plan to place the plant in a lower-light spot, begin moving it there gradually. Shift it 30-50cm every 2-3 days. Abrupt moves from bright to dim cause additional leaf drop.
- Establish your watering routine based on how fast the soil dries in its new location.
- Leaf drop should slow or stop by the end of week 2. New growth may begin appearing.
After Week 2: Normal Care
- The plant has acclimated. Resume normal care for the species.
- Now you can repot if needed (if the plant is root-bound or in poor soil).
- Begin fertilising at half strength if it is growing season.
What Is Normal vs. Concerning
Normal (Do Not Panic)
- 1-3 lower leaves yellowing and dropping. The plant sheds old leaves it can no longer support. Natural adjustment.
- Slight drooping for 1-2 days. The plant is recovering from transport. If soil moisture is adequate, drooping resolves on its own.
- Leaves looking slightly dull. Leaf sheen may decrease temporarily as the plant reallocates resources.
- Slowed growth. The plant pauses growth while it adjusts. This can last 2-4 weeks.
Concerning (Take Action)
- Multiple leaves yellowing simultaneously. Check for overwatering. Ensure drainage is working.
- Soft, mushy stems. Root rot — possibly from overwatering in transit or at the shop. Remove from pot, inspect roots, trim rot, repot in fresh soil.
- Pests visible on leaves. Inspect the plant thoroughly on arrival. Mealybugs, scale, and spider mites sometimes come home with new plants.
- Entire plant wilting despite moist soil. Root damage from cold or heat during transport. Give it time in bright indirect light with careful watering.
Plant-Specific Acclimation Notes

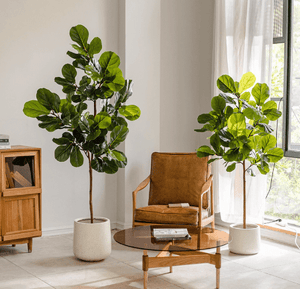
Ficus (Fiddle Leaf Fig, Rubber Plant)
Ficus species are notorious for leaf drop after environmental changes. A Fiddle Leaf Fig that drops 5-10 leaves in the first 2 weeks is not dying — it is adjusting. Do not move it again. Let it settle.
Calathea
Sensitive to humidity changes. If moving from a high-humidity nursery to an AC room, expect some crispy leaf edges. Group with other plants or add a pebble tray.
Monstera
Generally forgiving. May droop slightly for a few days. Recovers quickly with adequate light and a thorough watering.
Succulents and Cacti
Adjust to light differences carefully. A succulent grown in a bright nursery that is placed in a dim indoor spot will stretch (etiolate) within weeks. Ensure they get the bright light they need from day one.
Pothos and Philodendron
Among the easiest to acclimate. May drop one or two leaves but generally transition smoothly. Very adaptable plants.
Quarantine
Every new plant should be quarantined — kept separate from your existing plants — for at least 2 weeks. This serves two purposes:
- Pest detection. Pests that are not visible on purchase day may become apparent within 1-2 weeks as populations grow.
- Disease containment. Fungal or bacterial issues from the nursery or shop do not spread to your collection.
How to quarantine: Place the new plant in a different room or at least several metres from your existing plants. Inspect it every few days — check leaf undersides, stem joints, and the soil surface for signs of pests.
When to Repot

Not immediately. The number one new-plant-owner mistake is repotting on day one. Repotting adds stress to an already stressed plant.
Wait 2-4 weeks — until the plant has acclimated and shows signs of new growth. Then repot if:
- The plant is severely root-bound (roots emerging from drainage holes, water running straight through)
- The soil is of poor quality (dense, waterlogged, or breaking down)
- The pot has no drainage holes
If the plant looks healthy and the soil is adequate, you can wait months before repotting. There is no rush.
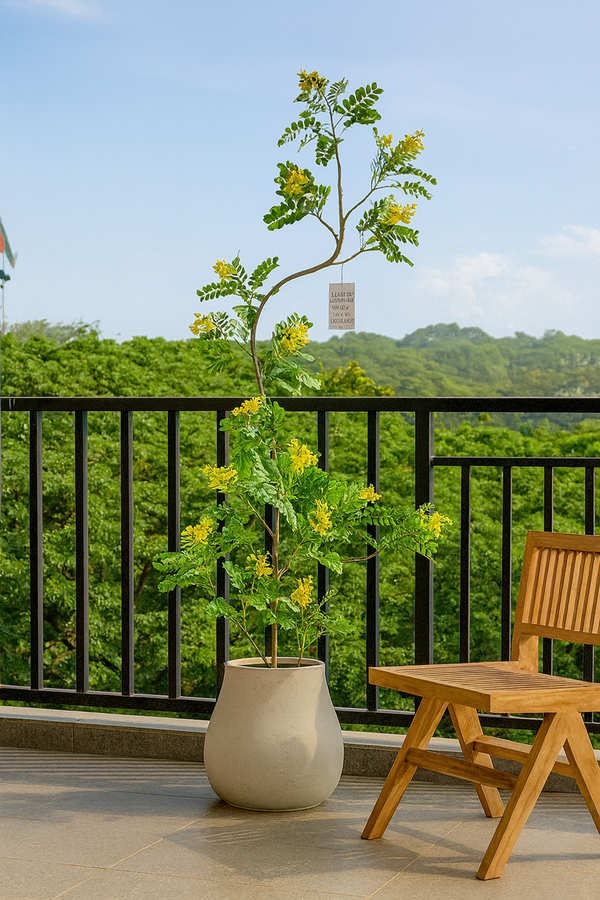
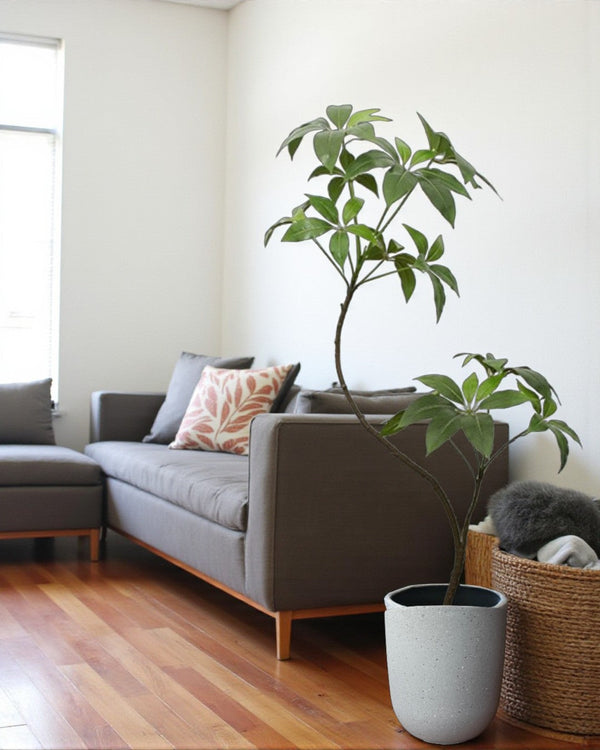
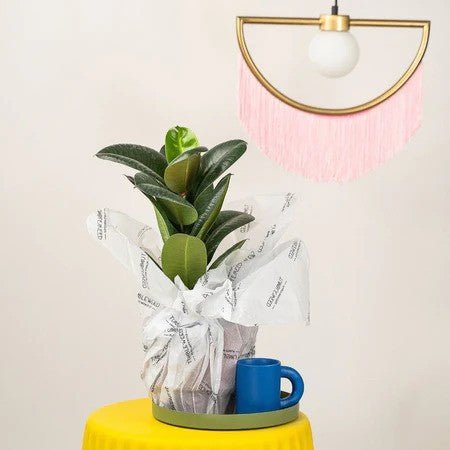
Shop Plants
Browse our indoor plant collection for healthy plants delivered across Singapore. Every plant ships in quality soil with care instructions to help you through the acclimation period.
The first two weeks with a new plant test your patience. You want it to thrive immediately — lush, growing, perfect. Instead, it drops a leaf or two, looks a bit tired, and seems to sulk in its new spot. This is normal. The plant is not dying. It is adjusting. Give it stable conditions, resist the urge to overwater or move it around, and wait. By week three, you will see the difference — a new leaf unfurling, colour returning, the plant settling into its new home like it has always been there. Acclimation is not glamorous. But it is the foundation of every healthy plant-owner relationship.
Quick summary
Key Takeaways
- Why New Plants Struggle
- The Two-Week Acclimation Protocol
- What Is Normal vs. Concerning
- Plant-Specific Acclimation Notes
- Quarantine
- When to Repot
Ready to bring some green into your home?
Browse 250+ hand-picked plants, curated for Singapore homes — delivered to your door.
Browse All Plants →