


How to Repot a Plant: A Step-by-Step Guide for Singapore Plant Parents
Posted on April 08 2026
In this article
Repotting is one of those plant care tasks that feels intimidating until you've done it once. The truth is, it's straightforward, takes about 15 minutes per plant, and makes an enormous difference to your plant's health and growth. If you've been putting it off — or you're not sure whether your plant actually needs repotting — this guide will walk you through everything.

We'll cover when to repot, how to choose the right pot and soil, the repotting process step by step, and where to find supplies in Singapore.
How Do You Know When to Repot a Plant?
Not every struggling plant needs a new pot. Repotting at the wrong time can actually stress your plant out. Here are the reliable signs that it's genuinely time:
Signs Your Plant Is Root-Bound
A root-bound plant has outgrown its current container. The roots have filled all available space and are starting to circle around themselves, which restricts the plant's ability to absorb water and nutrients.
Look for these indicators:
- Roots growing out of the drainage holes. This is the most obvious sign. If you see roots poking through the bottom of the pot, the plant needs more room.
- Roots visible on the soil surface. When roots start pushing up above the soil line, the pot is too crowded below.
- Water runs straight through the pot without being absorbed. This means roots have displaced most of the soil, and there's nothing left to hold moisture.
- The plant dries out unusually fast. If you're watering every couple of days and the soil is still bone dry, there may not be enough soil left relative to the root mass.
- Stunted or slowed growth despite proper light, water, and fertiliser. The plant simply has nowhere left to expand.
- The pot is cracking or bulging. Roots can generate surprising force. Plastic pots may warp; terracotta pots can crack.
When Is the Best Time to Repot in Singapore?
In temperate climates, spring is the standard repotting window. In Singapore, where temperatures and daylight hours remain relatively stable year-round, you have more flexibility. That said:
- Best months: February to April, when many plants enter a more active growth phase.
- Acceptable: Any time of year, as long as the plant isn't currently stressed (recovering from pests, recently relocated, or wilting from other issues).
- Avoid: Repotting a plant that's currently flowering, if possible. Wait until the blooms have faded.
As a general rule, most houseplants benefit from repotting every 1–2 years. Fast growers like pothos or monstera may need it annually; slow growers like ZZ plants or snake plants can go 2–3 years.
How to Choose the Right Pot Size

This is where many people go wrong. The instinct is to give your plant a much bigger pot so it has "room to grow." Resist that urge.
The One-Size-Up Rule
Choose a pot that is 2–5 cm (roughly 1–2 inches) wider in diameter than the current pot. That's it. Going bigger than this creates problems:
- Excess soil holds too much moisture, which can lead to root rot — especially in Singapore's humid climate, where soil takes longer to dry out.
- The plant "focuses" on root growth at the expense of foliage, as it tries to fill the oversized space.
- Watering becomes harder to calibrate because the soil volume is disproportionate to the root mass.
For example, if your plant is currently in a 15 cm pot, move it to an 18–20 cm pot. Simple.
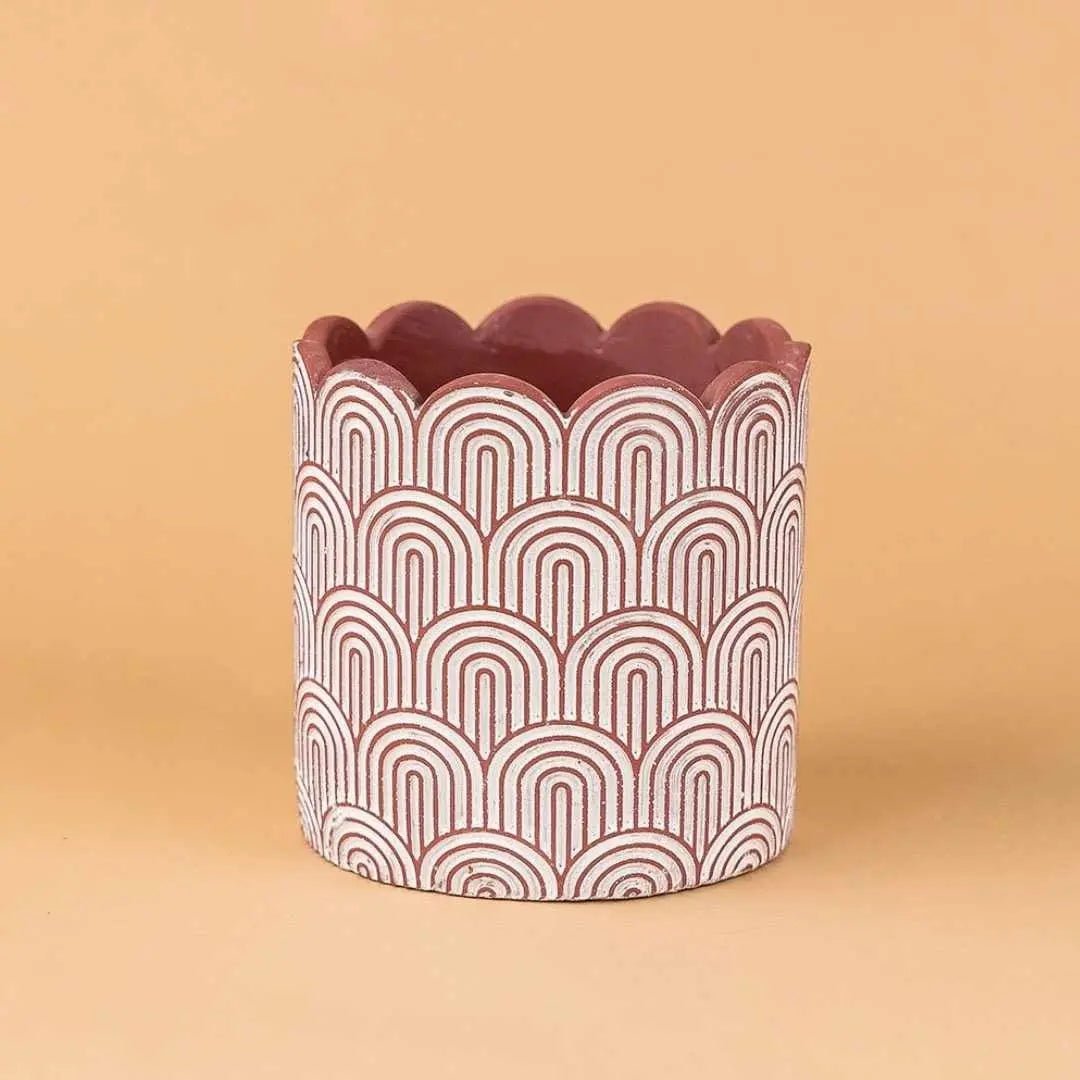
Pot Material: Which Is Best?
Each material has trade-offs:
- Plastic nursery pots — Lightweight, cheap, excellent drainage. Many plant parents keep plants in nursery pots and simply place them inside decorative cover pots. This is a perfectly valid (and practical) approach.
- Terracotta — Porous, so it dries out faster. Good for plants that prefer drier soil (succulents, snake plants, ZZ plants). Less ideal for moisture-loving plants like ferns or calatheas.
- Ceramic (glazed) — Retains moisture longer than terracotta. Stylish options available. Just ensure it has a drainage hole.
- Concrete — Heavy and sturdy, good for larger plants. Dries at a moderate rate.
The non-negotiable: drainage holes. Whatever pot you choose, it must have at least one drainage hole at the bottom. Decorative pots without drainage should only be used as cover pots (an outer pot that the plant's inner pot sits inside).
What Soil Mix Should You Use?
The right soil mix depends on the type of plant, but here's a solid general-purpose mix that works for most tropical houseplants in Singapore:
General-Purpose Potting Mix
- 50% peat-based potting soil (or coco peat as a sustainable alternative)
- 25% perlite — for aeration and drainage
- 25% orchid bark or coco chips — for structure and to prevent compaction
For Aroids (Monstera, Philodendron, Pothos)
- 40% potting soil
- 30% orchid bark or coco chips
- 20% perlite
- 10% charcoal (optional, helps prevent root rot)
For Succulents and Cacti
- 50% coarse sand or pumice
- 30% potting soil
- 20% perlite
For Ferns and Calatheas
- 60% peat-based potting soil
- 20% perlite
- 20% orchid bark
Singapore-specific note: Avoid using garden soil from outdoor beds. It's too dense for container plants, may contain pests, and drains poorly. Always use a dedicated potting mix.
How to Repot a Plant: Step-by-Step

Gather your supplies before you start. You'll need:
- New pot (one size up, with drainage holes)
- Fresh potting mix (appropriate for your plant type)
- A trowel or large spoon
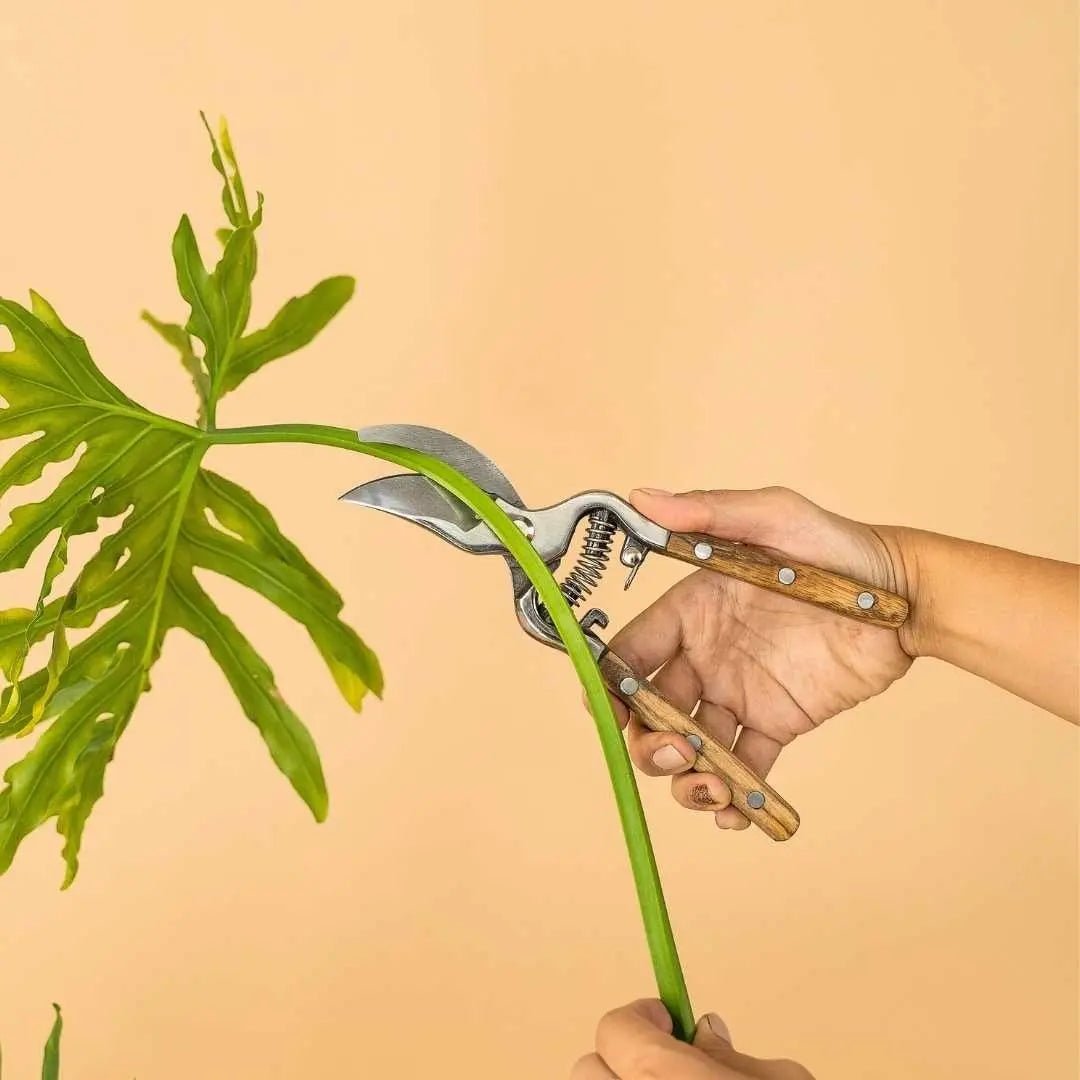
- Scissors or secateurs (for root trimming if needed)
- Newspaper or a tray (to catch mess)
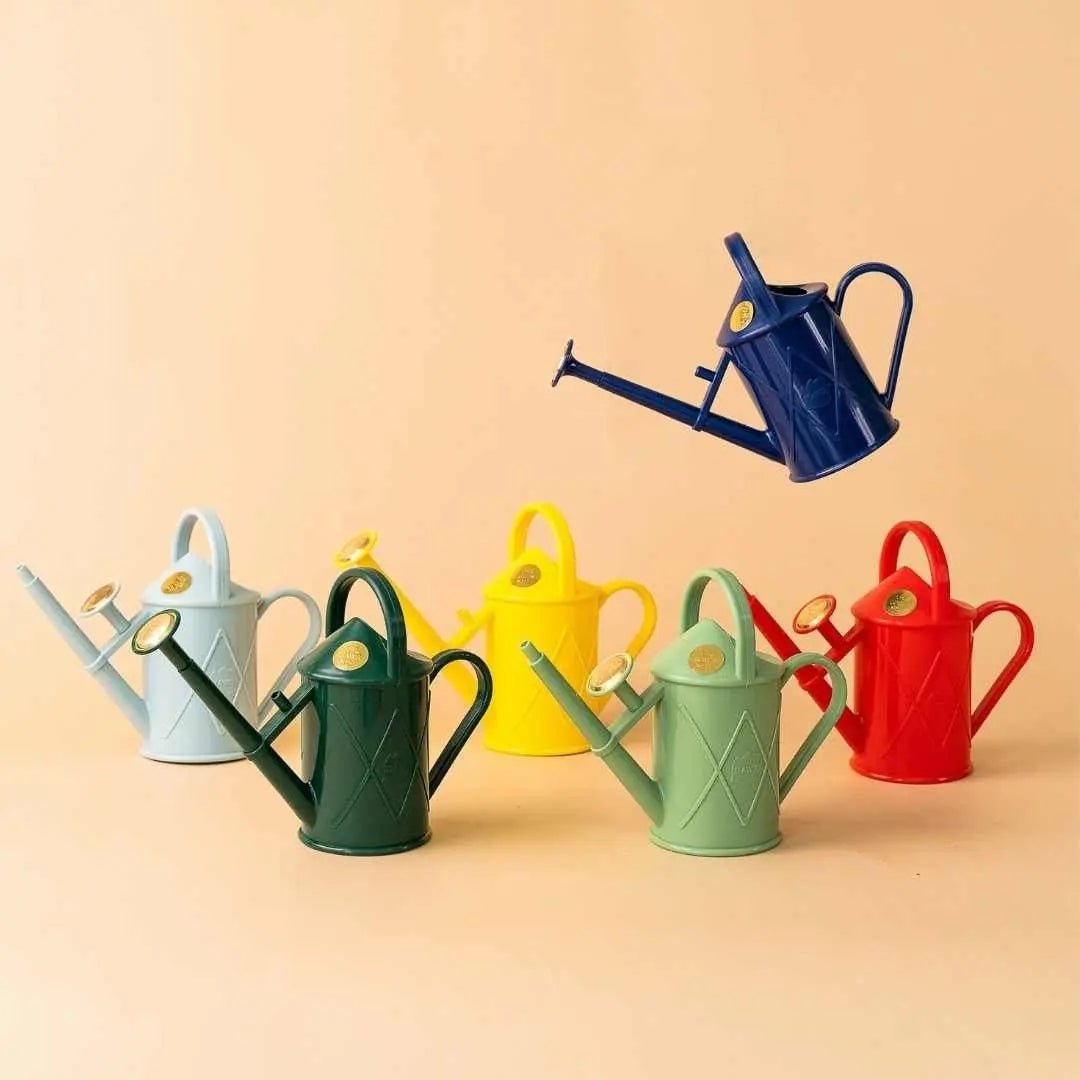
- Watering can
Step 1: Water Your Plant the Day Before
Watering a day in advance makes the root ball easier to remove from the old pot and reduces transplant shock. Don't repot a bone-dry plant — the roots are more brittle and prone to damage.
Step 2: Remove the Plant From Its Current Pot
- Turn the pot on its side and gently squeeze the sides if it's a plastic pot. The root ball should slide out.
- If the plant is stuck, run a butter knife around the inside edge of the pot to loosen the roots. For stubborn cases, tap the bottom of the pot firmly.
- For terracotta pots, you may need to carefully work the root ball out. If roots are growing through the drainage hole, gently ease them back through or trim them.
Never yank the plant out by the stem. Support the base of the plant and let gravity do the work.
Step 3: Inspect and Loosen the Roots
Once the plant is out, take a moment to examine the root system:
- Healthy roots are firm, white or light tan, and smell earthy.
- Unhealthy roots are mushy, dark brown or black, and may smell foul. Trim these away with clean scissors.
- If the roots are tightly circled (root-bound), gently tease them apart with your fingers. You can trim the outermost roots by about a third if they're severely matted — this encourages new root growth outward into the fresh soil.
Don't worry about being rough with the roots. Most houseplants are tougher than you think, and loosening a root-bound mass is essential for the plant to establish in its new pot.
Step 4: Add Fresh Soil to the New Pot
- Place a layer of fresh potting mix in the bottom of the new pot. The layer should be deep enough that when you set the plant on top, the base of the stem sits about 1–2 cm below the pot rim.
- Don't cover the drainage hole with rocks or broken pot shards. This old advice has been debunked — it actually impedes drainage rather than improving it. Just use soil directly.
Step 5: Position the Plant
- Set the plant in the centre of the new pot, on top of the base soil layer.
- Check the height. The soil surface should end up at the same level on the stem as it was before — don't bury the stem deeper than it was previously, as this can cause rot.
Step 6: Fill In Around the Roots
- Add potting mix around the root ball, using your fingers or a trowel to fill gaps. Press the soil down gently — firm enough to eliminate large air pockets, but not so compacted that it restricts drainage.
- Leave about 1–2 cm of space between the soil surface and the pot rim. This "watering well" prevents water from overflowing when you irrigate.
Step 7: Water Thoroughly
- Give the freshly repotted plant a good, thorough watering. Water until it flows freely from the drainage holes.
- This settles the soil around the roots and eliminates remaining air pockets. You may notice the soil level drops slightly after watering — top up with a little more mix if needed.
Step 8: Place in a Suitable Spot
- Return the plant to its usual spot, or place it in bright, indirect light for the first week or two.
- Avoid direct sunlight immediately after repotting, even for sun-loving plants. Give the roots time to settle before subjecting the plant to its maximum light exposure.
Post-Repotting Care Tips
The first two weeks after repotting are critical. Your plant needs time to adjust.
- Don't fertilise for at least 2–4 weeks. Fresh potting mix contains enough nutrients to sustain the plant initially, and fertiliser can burn stressed roots.
- Water normally — check the soil before watering and maintain your plant's usual moisture preferences. Don't overwater out of concern; soggy soil after repotting is a recipe for root rot.
- Expect a brief adjustment period. Some plants may droop, drop a leaf or two, or look a little lacklustre for a week. This is normal transplant shock and is temporary.
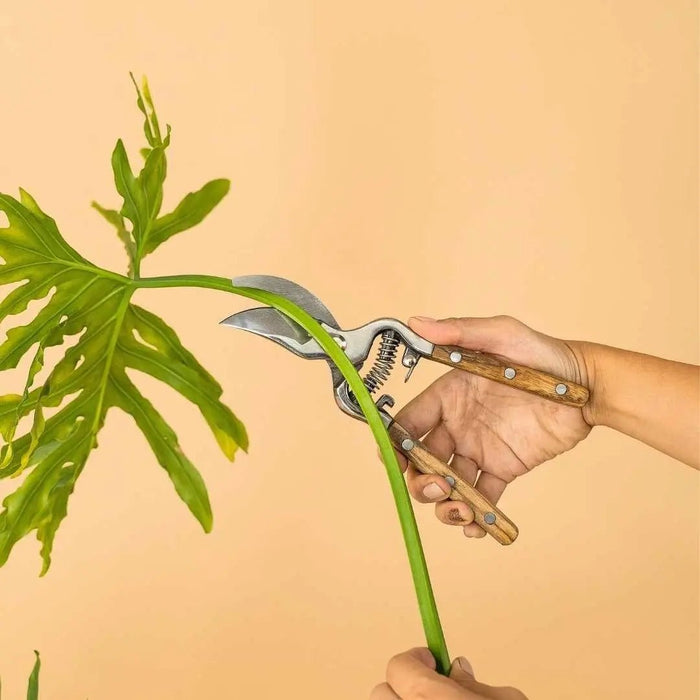
- Don't repot and prune at the same time. One stressor at a time. If your plant also needs pruning, wait 3–4 weeks after repotting.
Where to Buy Pots and Soil in Singapore

Singapore has no shortage of options for repotting supplies:
Nurseries and Garden Centres
- Far East Flora (Thomson Road) — Huge selection of pots in every material and size, plus potting mixes and soil amendments. Pots from around SGD 5–50 depending on size and material.
- World Farm (Boon Lay) — Sprawling nursery with affordable pots and a good range of soil components.
- Nurseries along Punggol/Seletar — Multiple shops clustered together, easy to compare prices. Terracotta pots are especially affordable here (SGD 2–10).
Online Options
- Shopee and Lazada — Extensive range of pots, soil mixes, perlite, orchid bark, and other components. Convenient for bulk purchases. Potting mix typically runs SGD 5–15 per bag.
- Tumbleweed Plants (tumbleweedplants.com) — If you're buying a new plant, it often makes sense to pick up pots and accessories at the same time.
Daiso and Dollar Shops
For basic plastic pots and saucers, Daiso is hard to beat at SGD 2 per item. The quality is fine for functional use, especially if you're using decorative cover pots.
Soil Component Price Guide (SGD)
Buying components separately and mixing your own soil is usually cheaper (and better for your plants) than relying on pre-mixed bags alone.
Common Repotting Mistakes to Avoid
- Choosing a pot that's too large. Stick to the one-size-up rule. Your plant will thank you.
- Repotting a sick plant. If your plant is already struggling with pests, disease, or overwatering, address those issues first. Repotting adds stress.
- Skipping drainage holes. No exceptions. If your favourite pot doesn't have one, use it as a cover pot only.
- Packing soil too tightly. Roots need oxygen. Firm but not concrete.
- Repotting in direct sun. The combination of root disturbance and intense light is too much. Do your repotting indoors or in a shaded area.
When Should You Not Repot?

Sometimes the best thing you can do is leave your plant where it is:
- The plant is blooming. Wait until the flowering cycle is complete.
- You just brought it home. Give new plants 2–4 weeks to acclimatise to your home's conditions before repotting.
- It's not root-bound. If the plant has space in its current pot and the soil is still in decent condition, there's no rush. Unnecessary repotting causes unnecessary stress.
- The plant is dormant or stressed. Heal first, repot later.
Repotting is one of the most impactful things you can do for your houseplants. A fresh pot and fresh soil give your plant a new lease on life — more room to grow, better drainage, and renewed access to nutrients. Once you've done it a couple of times, it becomes second nature. Your plants grow faster, look healthier, and reward you for the 15 minutes of effort.
Quick summary
Key Takeaways
- How Do You Know When to Repot a Plant?
- How to Choose the Right Pot Size
- What Soil Mix Should You Use?
- How to Repot a Plant: Step-by-Step
- Post-Repotting Care Tips
- Where to Buy Pots and Soil in Singapore
Ready to bring some green into your home?
Browse 250+ hand-picked plants, curated for Singapore homes — delivered to your door.
Browse All Plants →