


How to Repot a Root-Bound Plant Step by Step
Posted on April 09 2026
In this article
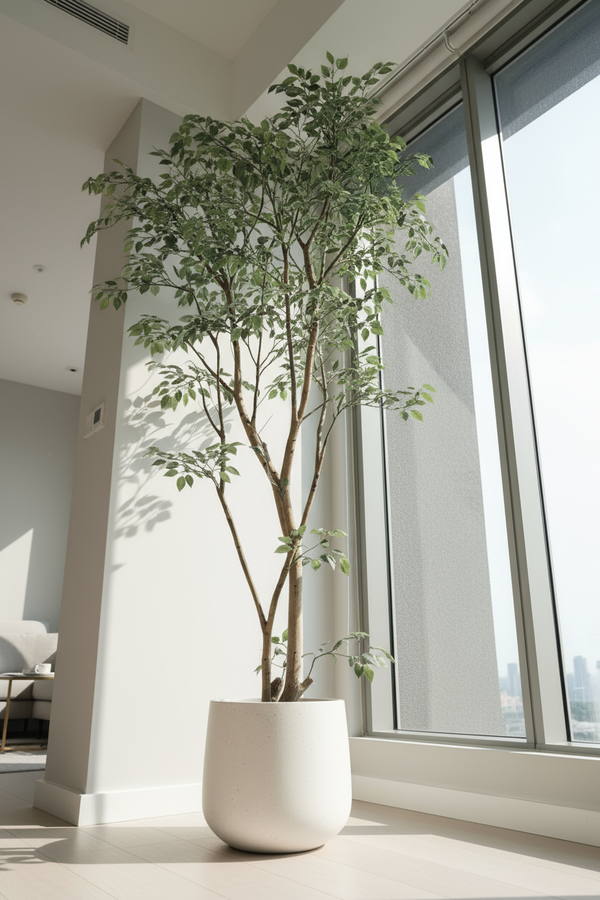
Your plant has been thriving for months — new leaves unfurling, stems reaching upward, everything looking healthy. Then you notice the signs: roots poking out of drainage holes, water running straight through the pot without soaking in, or the plant toppling over because the root mass outweighs the soil. Your plant is root-bound, and it is telling you it needs a bigger home.

Repotting is one of the most important maintenance tasks in indoor plant care, yet many plant parents in Singapore put it off because it feels intimidating. The truth is, repotting is straightforward once you understand the process. This guide walks you through every step — from identifying the problem to settling your plant into its new container.
How to Tell If Your Plant Is Root-Bound
A root-bound plant has outgrown its current container. The roots have filled every available space, circling the inside of the pot and compressing the soil into a dense, water-resistant mass.
Clear signs to watch for:
- Roots emerging from drainage holes at the bottom of the pot
- Roots growing over the soil surface and circling the top of the pot
- Water sitting on the surface during watering instead of absorbing, or running straight through the edges without wetting the centre
- The plant drying out much faster than usual — you are watering every two or three days when it used to go a week
- Stunted growth despite adequate light and fertiliser
- The pot feels unusually heavy, and when you try to slide the plant out, it comes out as a solid root mass with very little visible soil
- The pot is visibly bulging, cracking, or deformed (especially plastic nursery pots)
Not every root poking out of a drainage hole means the plant is severely root-bound. Some species — like Pothos and Spider Plants — are vigorous root growers and will send exploratory roots out early. Lift the plant out of its pot to assess the full picture before deciding to repot.
When to Repot in Singapore

Unlike temperate climates where repotting is strictly a spring activity, Singapore's consistent tropical climate means you can repot year-round. However, there are better and worse times:
Best timing:
- During a growth flush — when you see new leaves emerging, the plant is actively growing and will recover faster
- The drier months (February through April) — slightly lower humidity reduces the risk of fungal issues in freshly disturbed roots
- Morning hours — repot early when temperatures are cooler, giving the plant the full day to settle before nightfall
Avoid repotting when:
- The plant is stressed from recent changes (just moved, recovering from pests, newly purchased)
- The plant is flowering — repotting can cause bloom drop
- During a heatwave or unusually intense weather — added stress on top of stress
What You Need
Gather everything before you start. Repotting goes smoothly when you are not hunting for supplies mid-process:
- New pot — one to two sizes larger than the current pot (roughly 2-5cm wider in diameter). Going too large is a common mistake that leads to overwatering
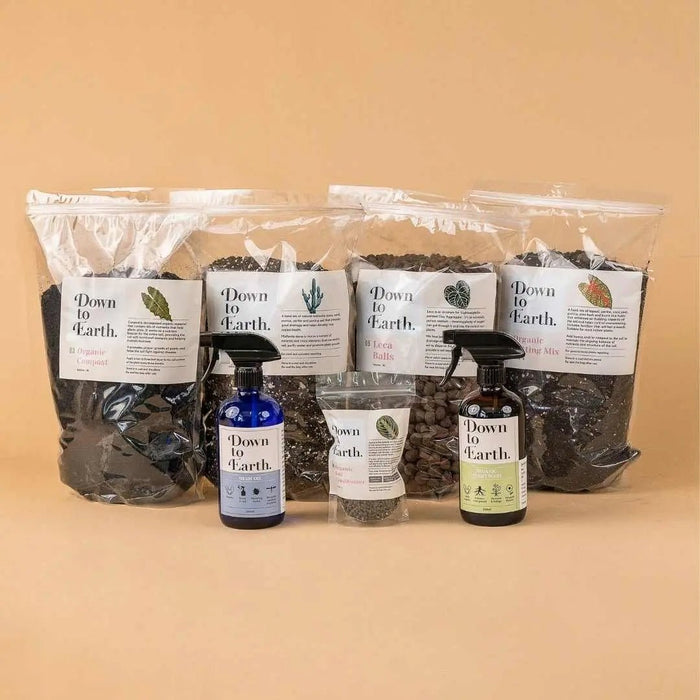
- Fresh potting mix — appropriate for the plant type (see soil section below)
- Drainage material — optional layer of perlite, LECA, or broken terracotta at the bottom for pots with single drainage holes
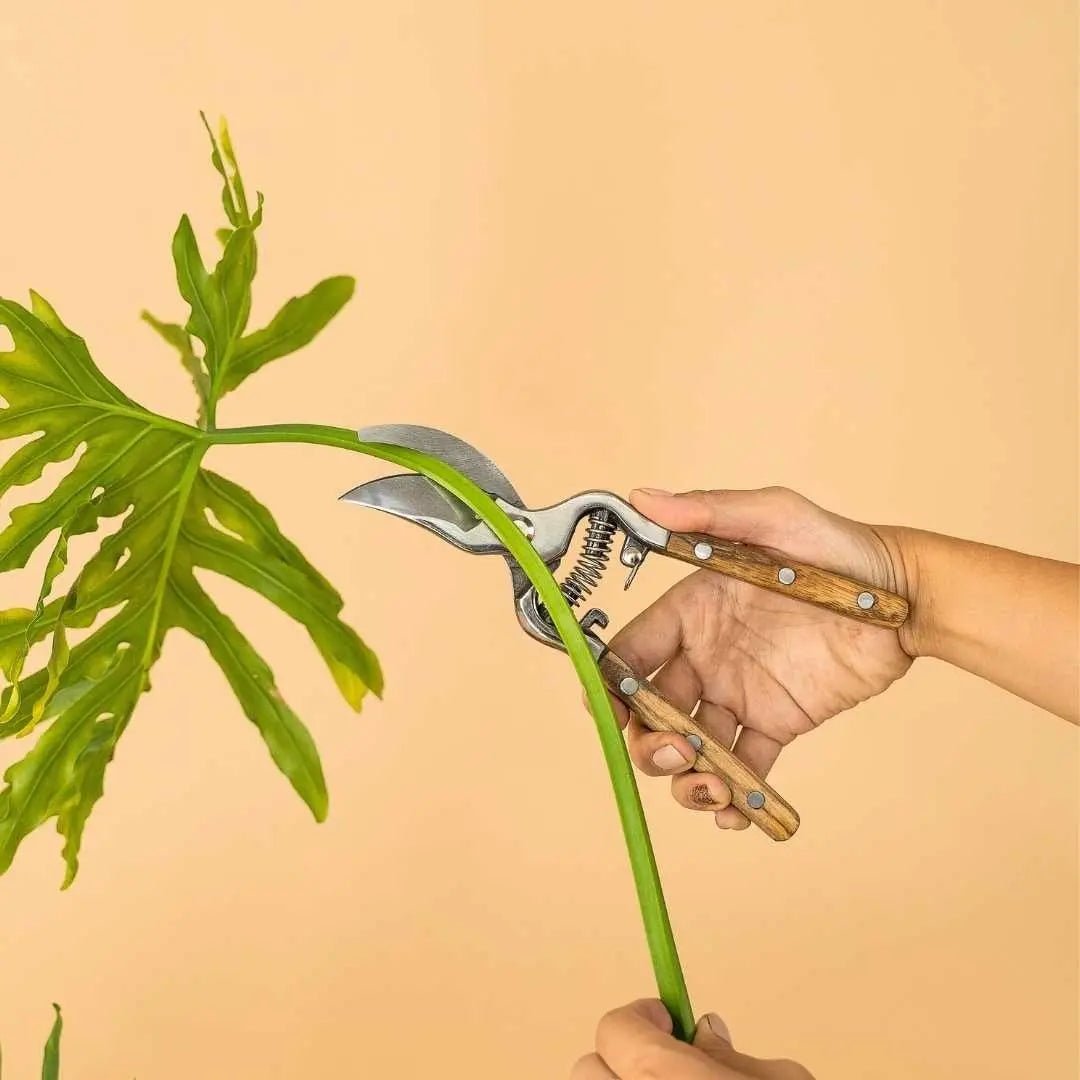
- Scissors or pruning shears — clean and sharp, for trimming dead or rotten roots
- Newspaper or plastic sheet — to protect your floor or table
- Watering can — for the initial watering after repotting
- A chopstick or dowel — useful for gently loosening compacted roots and filling gaps in the new soil
Soil Mixes by Plant Type

Different plants need different substrates. Here are the most common mixes for popular Singapore houseplants:
Standard Tropical Mix
For Monstera, Philodendron, Pothos, Aglaonema, and most foliage plants:
- 50% quality potting soil
- 25% perlite
- 15% orchid bark
- 10% charcoal
Aroid Chunky Mix
For aroids that like extra aeration — Anthurium, climbing Philodendron, Monstera:
- 30% orchid bark
- 30% perlite
- 20% potting soil
- 10% sphagnum moss
- 10% charcoal
Succulent and Cactus Mix
For succulents, cacti, and String-of varieties:
- 50% potting soil
- 30% coarse sand or pumice
- 20% perlite
Fern Mix
For ferns, Calathea, and moisture-loving tropicals:
- 50% potting soil
- 20% peat moss or coco coir
- 15% perlite
- 15% orchid bark
Step-by-Step Repotting Guide
Step 1: Water the Day Before
Water your plant thoroughly the day before repotting. Moist soil holds together better, making it easier to remove the plant from its current pot. Dry soil crumbles and exposes roots to damage.
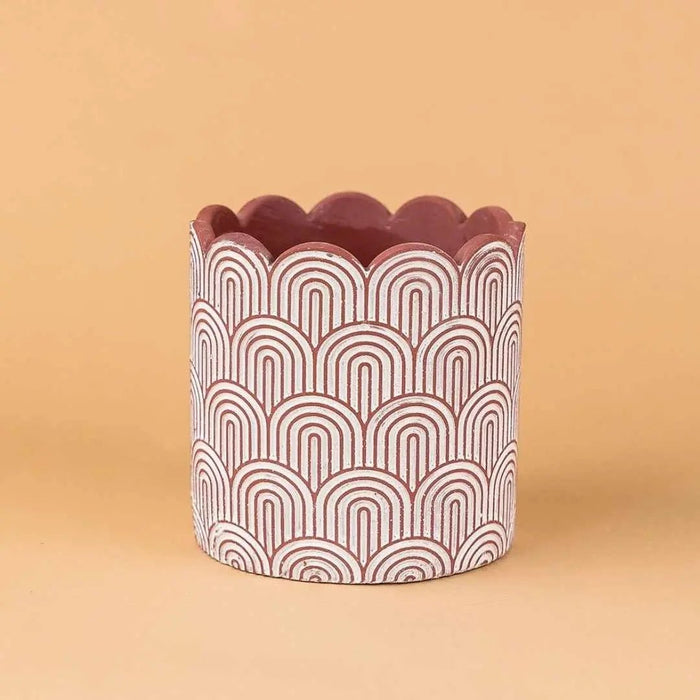
Step 2: Prepare the New Pot
If using a terracotta pot, soak it in water for 30 minutes beforehand so it does not wick moisture away from the fresh soil. Place a thin layer of drainage material at the bottom — just enough to cover the drainage hole without blocking it.
Add a layer of fresh potting mix to the bottom of the new pot. The depth should be enough so that when you place the plant inside, the top of the root ball sits about one to two centimetres below the rim of the pot.
Step 3: Remove the Plant
Turn the current pot sideways or upside down. Support the plant's stem gently with one hand while easing the pot off with the other. If the plant is stuck:
- Run a butter knife around the inside edge of the pot
- Squeeze the sides of a plastic pot to loosen the root ball
- For terracotta, tap the rim firmly against a table edge
Never yank a plant out by its stem. Be patient — the root ball will release.
Step 4: Examine and Loosen the Roots
Once the plant is out, examine the root system:
- Healthy roots are firm, white to light tan in colour
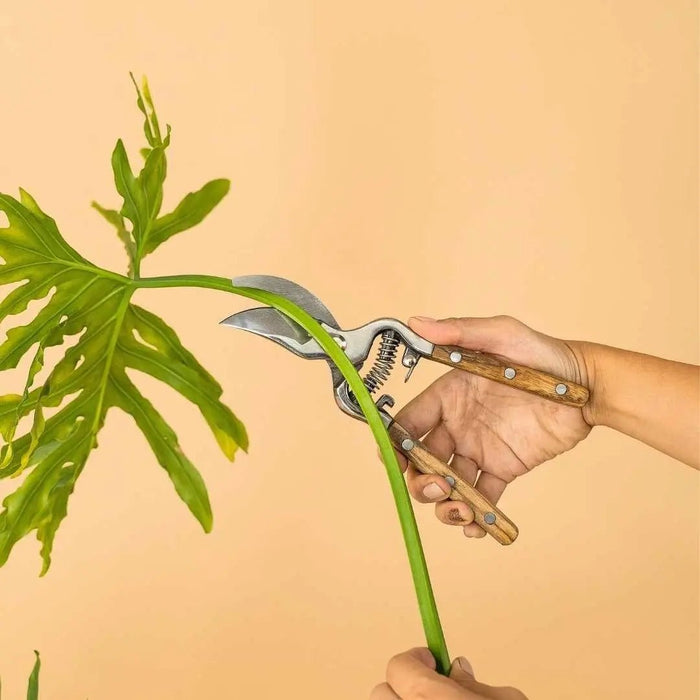
- Rotting roots are brown, mushy, and often smell sour — trim these away with clean scissors
- Circling roots wrap around the root ball in tight loops — gently tease these outward with your fingers or a chopstick
For severely root-bound plants, you may need to use a clean knife to score the outside of the root ball — making three or four vertical cuts about one centimetre deep. This breaks the circling pattern and encourages roots to grow outward into the new soil.
Remove about one-third of the old soil from the root ball. This ensures the roots make contact with fresh, nutrient-rich mix rather than sitting in compacted, depleted soil.
Step 5: Position the Plant
Centre the plant in the new pot. The top of the root ball should sit one to two centimetres below the pot rim — this prevents water from overflowing during watering.
Step 6: Fill with Soil
Add fresh potting mix around the root ball, working it into gaps with your fingers or a chopstick. Fill evenly on all sides so the plant sits straight. Press the soil gently — firm enough to support the plant, but not so compacted that water cannot penetrate.
Leave a one-centimetre gap between the soil surface and the pot rim for watering space.
Step 7: Water Thoroughly
Water slowly and evenly until liquid drains from the bottom. This settles the soil around the roots and eliminates air pockets. You may notice the soil level drops after the first watering — add a thin top layer to compensate.
Step 8: Place in Recovery Spot
Position the plant in a spot with bright indirect light and good air circulation. Avoid direct sunlight for the first week — freshly repotted plants are more sensitive to stress.
Aftercare: The First Two Weeks

The two weeks after repotting are critical. Your plant's roots have been disturbed, and it needs time to establish in its new environment.
Do:
- Keep the soil consistently lightly moist (not soggy) for the first week
- Maintain bright indirect light
- Mist the foliage if your home is heavily air-conditioned
Do not:
- Fertilise for at least two to three weeks — fresh potting mix contains enough nutrients, and damaged roots are more susceptible to fertiliser burn
- Move the plant around — let it settle in one spot
- Panic if you see a few yellowing lower leaves — some leaf drop after repotting is normal, especially for fussy species like Calathea and Ficus
Common Repotting Mistakes
Jumping too many pot sizes. Going from a 10cm pot to a 20cm pot means the extra soil holds water the roots cannot yet absorb. This almost always leads to root rot. Increase by one to two sizes maximum.
Repotting a sick plant. A plant suffering from pests, disease, or severe stress needs stability, not disruption. Treat the issue first, let the plant recover, then repot.
Using old soil from the previous pot. Old soil may harbour pests, fungal spores, or salt buildup from fertiliser. Always use fresh mix.
Burying the stem. The soil level should match where it sat in the old pot. Burying the stem deeper invites rot, especially in plants with soft stems like Peperomia and begonias.
Skipping drainage holes. Decorative pots without drainage are beautiful but dangerous. Either drill holes yourself or use the pot as a cache pot with a well-draining nursery pot inside.
When Not to Repot

Sometimes the right move is to leave the plant where it is:
- Slightly root-bound is fine for some species. Peace Lilies, Hoyas, and Snake Plants actually bloom more readily when slightly root-bound.
- Recently purchased plants need time to acclimatise. Wait at least two to four weeks after bringing a new plant home before repotting.
- If the plant is thriving and showing no signs of being root-bound, there is no reason to repot. Unnecessary repotting causes unnecessary stress.
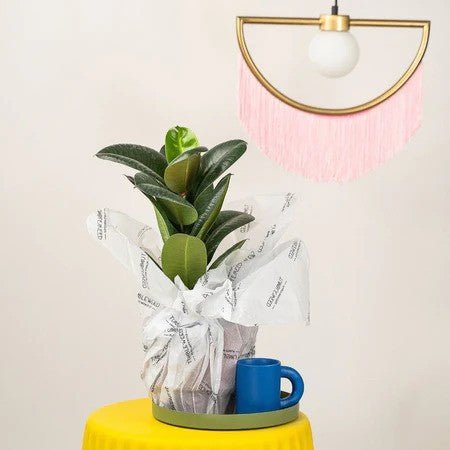
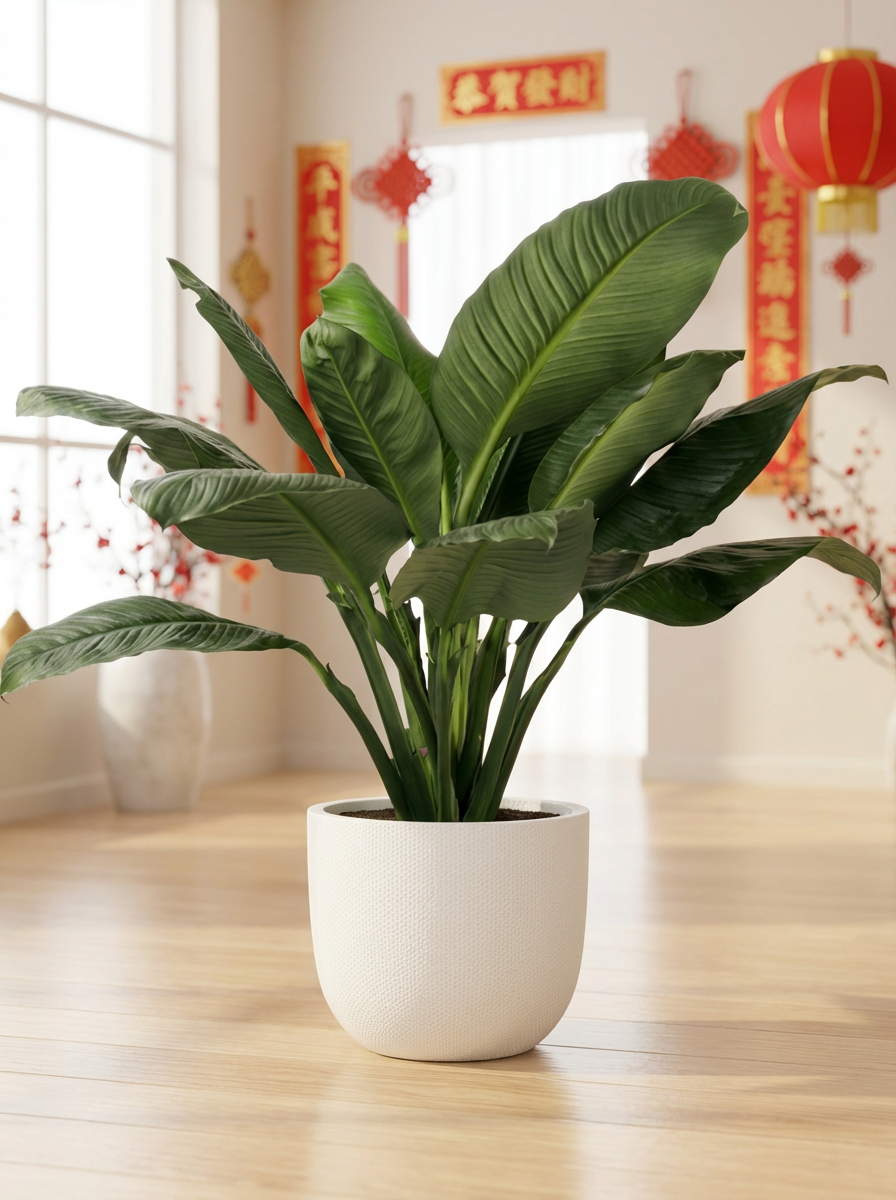
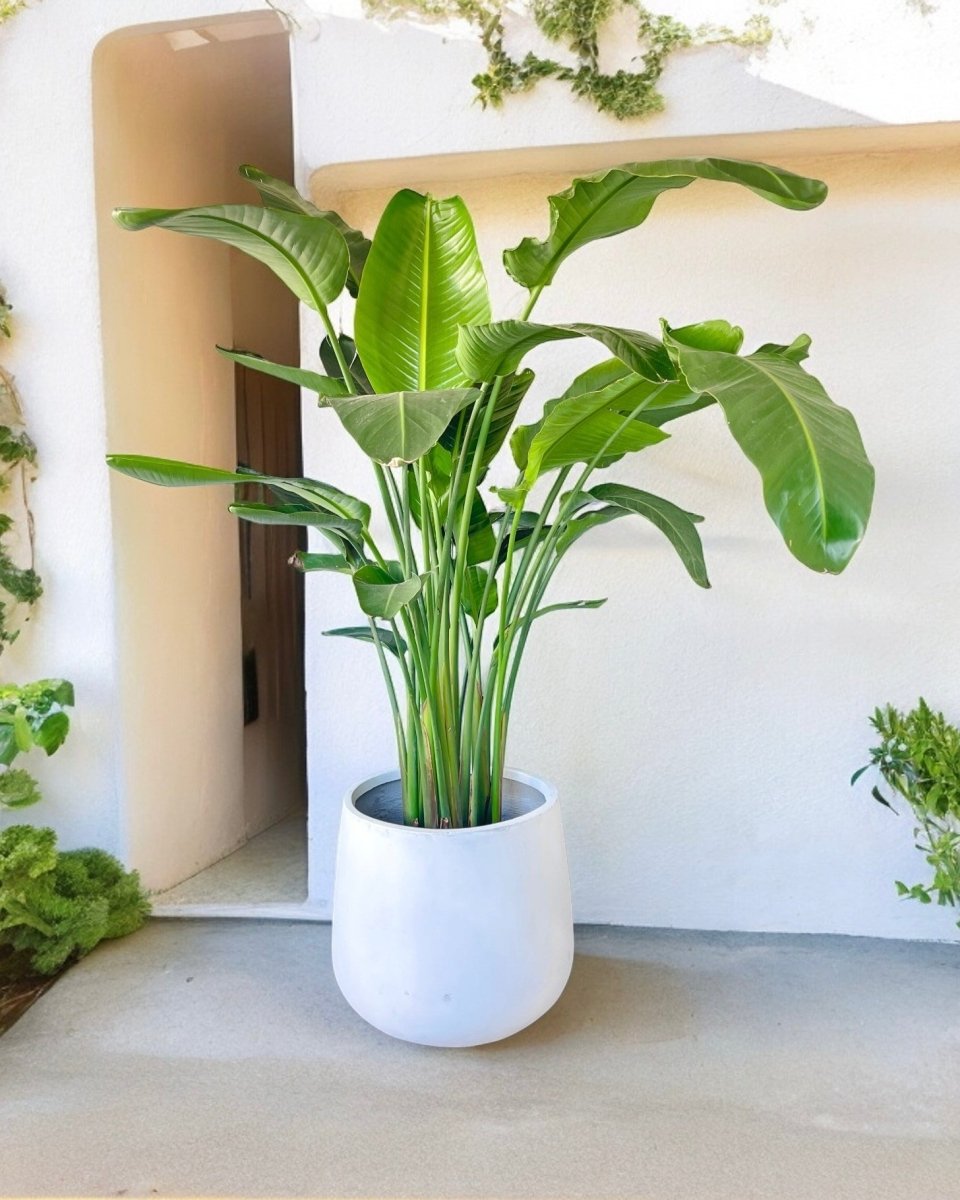
Find Your Next Pot and Plant
Ready for a repotting session? Browse our collection of indoor plants and find varieties that suit every corner of your Singapore home. Each plant ships in a healthy nursery pot, ready for you to pot up into your chosen decorative container.
Repotting is one of those tasks that feels daunting the first time and effortless by the third. Your plants will reward the effort with fresh growth, stronger roots, and a renewed lease on life in their new home.
Quick summary
Key Takeaways
- How to Tell If Your Plant Is Root-Bound
- When to Repot in Singapore
- What You Need
- Soil Mixes by Plant Type
- Step-by-Step Repotting Guide
- Aftercare: The First Two Weeks
Ready to bring some green into your home?
Browse 250+ hand-picked plants, curated for Singapore homes — delivered to your door.
Browse All Plants →