


How to Propagate Pothos: 4 Easy Methods
Posted on April 09 2026
In this article
- Understanding Pothos Anatomy
- Method 1: Water Propagation (Easiest)
- Method 2: Soil Propagation (Most Natural)
- Method 3: Sphagnum Moss Propagation
- Method 4: LECA Propagation (Semi-Hydroponic)
- Which Pothos Varieties Propagate Best?
- Propagation Troubleshooting
- From Cuttings to a Full Plant
- Start Propagating
Pothos is the gateway plant for propagation. If you have never taken a cutting and grown a new plant from it, Pothos is where to start. It roots faster, more reliably, and with less fuss than almost any other houseplant — and in Singapore's warm climate, the process is even quicker than what most international guides describe.

One healthy Pothos vine can produce dozens of new plants. Every node — the small bump on the stem where a leaf and aerial root emerge — is a potential new plant waiting to happen. With a pair of scissors and a glass of water, you can turn one Pothos into a collection in a matter of weeks.
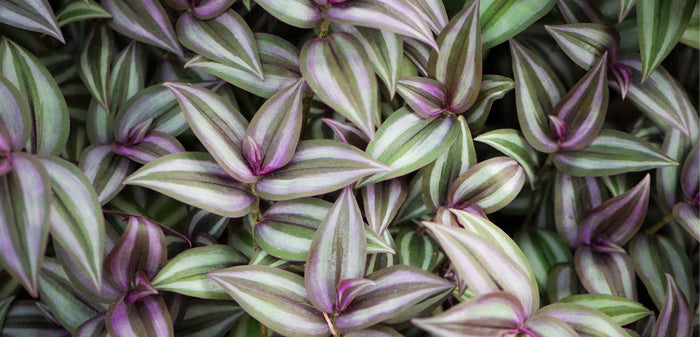
Understanding Pothos Anatomy
Before you cut, understand what you are looking at:
Node: A slightly thickened point on the stem where a leaf attaches. This is where roots will grow. Every cutting must include at least one node, or it will never develop roots.
Internode: The section of stem between two nodes. Longer internodes mean a leggier plant; shorter internodes mean a bushier one.
Aerial root: A small brown nub or short root emerging from a node. Some nodes have visible aerial roots before you cut; others develop them only after cutting. Cuttings with existing aerial roots root faster.
Leaf: Grows from the node. Each node typically produces one leaf. Remove the leaf closest to the cut end if it would be submerged in water.
Method 1: Water Propagation (Easiest)

Water propagation is the most popular method because it is simple, requires no special materials, and lets you watch roots develop in real time.
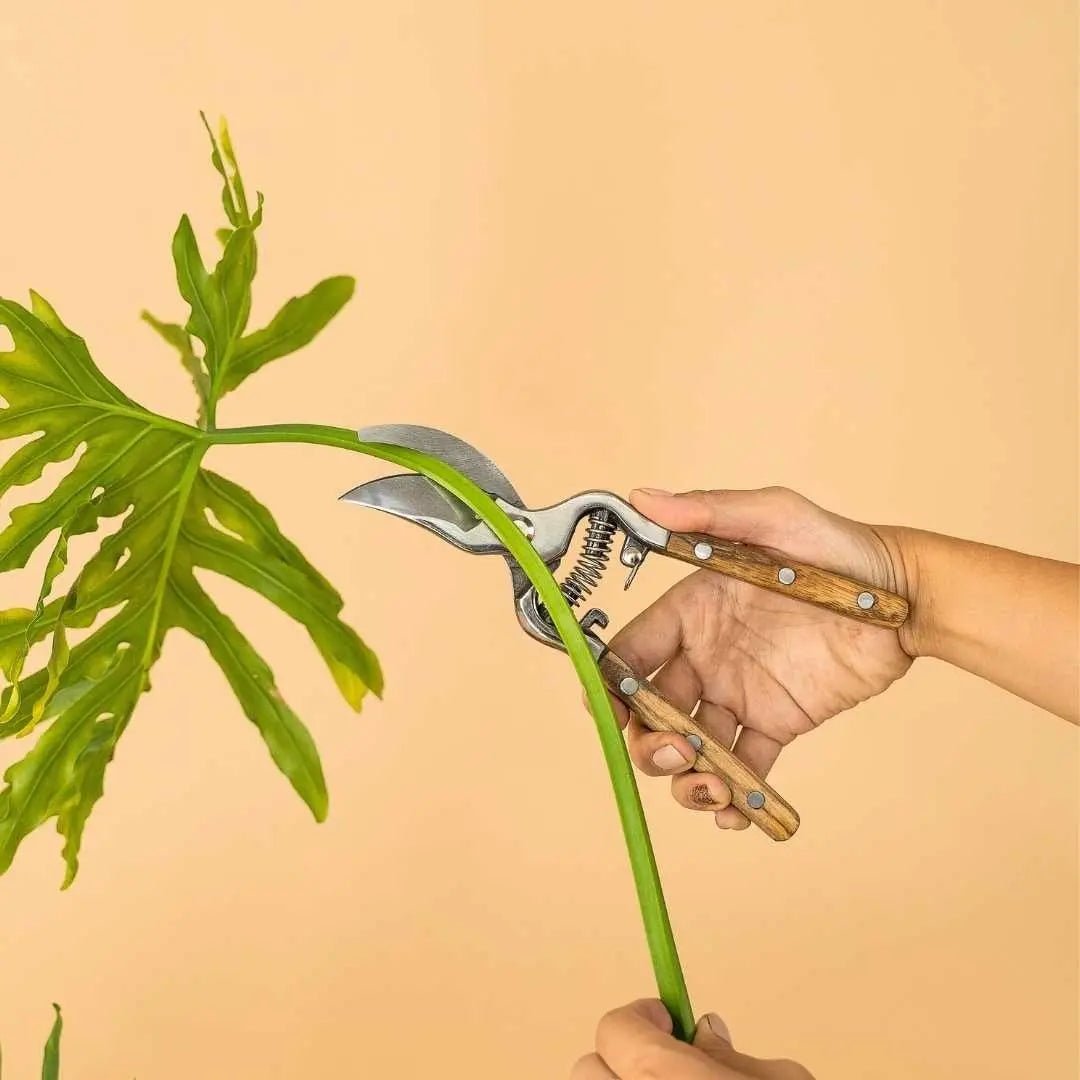
Step by Step
- Select a healthy vine with at least four to six leaves. Avoid stems that are yellowing, damaged, or showing signs of pest damage.
- Make your cuts. Using clean, sharp scissors, cut the vine into individual segments, each with one to two nodes and one to two leaves. Cut about 1cm below the lowest node on each segment.
- Remove submerged leaves. Any leaf that would sit below the waterline must be removed. Submerged leaves rot and contaminate the water.
- Place in water. Use a clean glass jar, vase, or any transparent container. Fill with room-temperature water so that the node (and any aerial roots) is submerged, but the remaining leaves stay above the waterline.
- Position in bright indirect light. Near a window but out of direct sun. Direct sunlight on the water promotes algae growth.
- Change water every 3-4 days. Fresh, oxygenated water encourages faster root growth and prevents bacterial buildup. In Singapore's warm temperatures, stale water turns murky quickly.
- Wait for roots. In Singapore's 28-32°C room temperature, roots typically appear within 7 to 14 days. Wait until roots reach 5-8cm before transferring to soil.
- Transfer to soil. Plant in a well-draining potting mix, water thoroughly, and keep the soil consistently moist for the first two weeks while the water-adapted roots transition to soil.
Tips for Faster Water Rooting
- Use a narrow-necked container so the cutting stands upright with the node submerged without the leaf touching water
- Add a small piece of charcoal to the water to keep it fresh longer
- Group multiple cuttings in one jar — studies suggest rooting hormone released by one cutting can stimulate others nearby
- Warmth accelerates rooting. Singapore's ambient temperature is ideal. Avoid placing jars in air-conditioned rooms if possible — a warm spot roots faster
Method 2: Soil Propagation (Most Natural)
Soil propagation skips the water-to-soil transition step, producing roots that are immediately adapted to their permanent medium.
Step by Step
- Take cuttings as described above (one to two nodes per segment).
- Prepare small pots with moist, well-draining potting mix. A standard tropical mix (50% potting soil, 25% perlite, 25% orchid bark) works well.
- Dip the cut end in rooting hormone (optional but speeds up the process). Rooting hormone powder is available at most garden centres in Singapore.
- Plant the cutting with the node buried 2-3cm deep in the soil. Firm the soil gently around the stem.
- Water lightly and cover loosely with a clear plastic bag or place in a propagation box to maintain humidity. Leave a small opening for air circulation.
- Position in bright indirect light.
- Keep soil consistently moist (not waterlogged) for the first three to four weeks.
- Test for roots after three weeks by gently tugging the cutting. If you feel resistance, roots have established. Remove the humidity cover gradually over a few days.
Advantages Over Water Propagation
- No transplant shock from water to soil
- Roots are stronger and adapted to soil from the start
- Better for producing bushier plants (plant multiple cuttings in one pot)
Disadvantages
- You cannot see root development
- Slightly higher risk of stem rot if soil is too wet
- Slightly slower initial rooting compared to water in warm conditions
Method 3: Sphagnum Moss Propagation

Sphagnum moss is a popular propagation medium among plant collectors. It holds moisture while providing excellent aeration — a best-of-both-worlds between water and soil.
Step by Step
- Soak sphagnum moss in water for 15 minutes, then squeeze out excess. It should be damp, not dripping.
- Take cuttings as described above.
- Wrap the node area of each cutting in a small ball of damp sphagnum moss. Alternatively, fill a container with loose damp moss and nestle the cuttings in with nodes buried.
- Place in a clear container with a loose lid or cover with cling wrap with ventilation holes. A clear propagation box or repurposed takeaway container works perfectly.
- Position in bright indirect light.
- Check moisture every few days. The moss should stay consistently damp. Mist if it starts to dry.
- Roots typically appear in 10-14 days in Singapore's warm conditions.
- Transfer to soil once roots reach 5-8cm. The transition from moss to soil is gentler than from water to soil.
Why Some Plant Lovers Prefer This Method
- Faster rooting than soil propagation
- Gentler transition to soil than water propagation
- Lower risk of stem rot compared to water (better aeration)
- Works exceptionally well for rare or variegated cuttings where you want to maximise success rate
Method 4: LECA Propagation (Semi-Hydroponic)
LECA (Lightweight Expanded Clay Aggregate) balls are a semi-hydroponic medium that provides support and moisture without the rot risk of soil.
Step by Step
- Rinse LECA balls thoroughly to remove dust.
- Fill a container (with no drainage hole) one-third full with LECA.
- Place the cutting with the node sitting among the LECA, supported upright.
- Add water to the level just below the node. The LECA wicks moisture up to the node without submerging it directly.
- Position in bright indirect light.
- Top up water as it is absorbed. Never let the water level rise above the node.
- Roots develop in 10-21 days. You can transfer to soil or continue growing in LECA permanently.
Best For
- People who want to try semi-hydroponic growing
- Cuttings that are prone to rot in standing water
- A low-maintenance propagation setup (LECA needs less frequent water changes than plain water)
Which Pothos Varieties Propagate Best?
All Pothos varieties propagate easily, but some are faster than others:
| Variety | Rooting Speed | Notes |
|---|---|---|
| Golden Pothos | Very fast (7-10 days) | The easiest and fastest rooter |
| Jade Pothos | Very fast (7-10 days) | Solid green, very vigorous |
| Neon Pothos | Fast (7-14 days) | Bright chartreuse, strong grower |
| Marble Queen | Moderate (10-18 days) | Slower due to less chlorophyll in variegated leaves |
| N'Joy | Moderate (10-18 days) | Small leaves, compact growth |
| Manjula | Moderate-slow (14-21 days) | Highly variegated, slower growth |
| Cebu Blue | Moderate (10-14 days) | Unique silvery leaves, roots well |
General rule: The more variegation (white/cream areas) a Pothos variety has, the slower it roots. Variegated tissue contains less chlorophyll, which means less energy for root production.
Propagation Troubleshooting
Cutting Turns Yellow and Mushy
The stem is rotting. Common causes:
- Water not changed frequently enough
- Node buried too deep in soggy soil
- Container not clean (bacteria)
Fix: Cut away the rotted section. If a healthy node remains above the rot, re-cut just above it and start again. Sterilise your container.
No Roots After Three Weeks
- Check that the cutting includes at least one node
- Ensure the node is in contact with water/moist medium
- Move to a warmer spot (away from AC)
- Try adding a tiny amount of liquid rooting hormone to the water
Roots Appeared But the Leaf Dropped
Some cuttings divert all energy to root production and drop their leaf in the process. This is not a failure — the rooted node will eventually produce a new leaf. Be patient.
Water Turning Green or Cloudy
- Green water: algae growth from too much light on the water. Move to a shadier spot or use an opaque container.
- Cloudy water: bacterial growth. Change water immediately and clean the container with diluted vinegar.
From Cuttings to a Full Plant

The secret to a full, bushy Pothos is planting multiple cuttings in the same pot. Instead of growing one cutting into a single-vine plant:
- Propagate six to ten cuttings
- Once rooted, plant them together in a single pot, spacing evenly around the rim
- Each cutting grows into its own vine, creating a dense, bushy plant from day one
This is how nurseries produce those lush, full Pothos that look so impressive in the shop — it is not one plant, it is many.
Start Propagating
Already have a Pothos? Grab your scissors and start propagating today. Need one to begin with? Browse our Pothos collection — one healthy plant is all you need to build an entire collection through propagation.
Propagation is one of the most rewarding aspects of plant ownership. There is something deeply satisfying about creating new life from a simple cutting — and with Pothos, success is virtually guaranteed. Start with one method, master it, and then experiment with the others. Before you know it, you will be the friend that everyone comes to for cuttings.
Quick summary
Key Takeaways
- Understanding Pothos Anatomy
- Method 1: Water Propagation (Easiest)
- Method 2: Soil Propagation (Most Natural)
- Method 3: Sphagnum Moss Propagation
- Method 4: LECA Propagation (Semi-Hydroponic)
- Which Pothos Varieties Propagate Best?
Ready to bring some green into your home?
Browse 250+ hand-picked plants, curated for Singapore homes — delivered to your door.
Browse All Plants →