


Plant Parenting for Beginners: Your First 30 Days
Posted on April 09 2026
In this article
- Week 1: Choosing Your First Plant
- Week 1: Understanding Light in Your Home
- Week 1: Setting Up Your Plant at Home
- Week 2: Mastering the Basics of Watering
- Week 3: Feeding and Observing
- Week 4: Common Newbie Mistakes (and How to Avoid Them)
- Beyond Day 30: What Comes Next
- Your First 30 Days: A Quick Checklist
- Final Thoughts
# Plant Parenting for Beginners: Your First 30 Days | Tumbleweed Plants Singapore

So you have decided to get a plant. Maybe your colleague's desk monstera inspired you. Maybe you scrolled past one too many lush apartment photos on Instagram. Or maybe you just moved into a new place and the bare shelves are staring at you. Whatever brought you here, welcome — you are about to discover one of the most rewarding (and surprisingly relaxing) hobbies in Singapore. This guide will take you through your first 30 days as a plant parent, covering everything from choosing the right plant to avoiding the classic mistakes that claim so many beginner plants. No jargon, no judgment — just practical advice for Singapore's unique climate and living conditions.
Week 1: Choosing Your First Plant
The single biggest mistake new plant parents make is choosing a plant based on looks alone. That stunning calathea with the painted leaves? It will punish you for every missed watering and every degree of temperature fluctuation. That delicate maidenhair fern? It has a PhD-level care requirement sheet. Save those for later. Your first plant should be forgiving, resilient, and suited to the conditions in your home.
The Best Beginner Plants for Singapore
Here are five plants that consistently succeed with first-time owners in Singapore:
- Pothos (Epipremnum aureum): The gold standard for beginners. Trails beautifully, tolerates low light, and visibly perks up when watered — giving you immediate feedback.
- Snake plant (Sansevieria): Nearly indestructible. Survives low light, infrequent watering, and aircon rooms. Read our full snake plant care guide for details.
- ZZ plant (Zamioculcas zamiifolia): Glossy, architectural foliage. Thrives on neglect — genuinely prefers to be underwatered.
- Aglaonema: Available in gorgeous colour variations, from deep green to pink. Extremely tolerant of low light and irregular watering. The Aglaonema Pattaya Beauty is a particularly good starter — its silver-green leaves brighten up any corner and it practically cares for itself.
- Spider plant (Chlorophytum comosum): Fun cascading growth, produces baby plants you can propagate and share. Hard to kill.
Where to Buy
Singapore has a thriving plant scene. You can buy from local nurseries in Thomson or Tuas, weekend markets, or online shops like Tumbleweed. Buying online has a particular advantage: the plant arrives at your door, often in better condition than something that has been sitting in a garden centre car park for weeks.
Week 1: Understanding Light in Your Home

Light is the single most important factor in whether your plant thrives or merely survives. Before you even bring a plant home, spend a day observing the light in your space. Here is what to look for in a typical Singapore home.
Reading Your Windows
The direction your windows face determines the quality and intensity of light your plants receive:
- East-facing windows: Morning sun from roughly 7 am to 11 am. This is gentle, warm light — ideal for most houseplants. If you have east-facing windows, you have won the plant parent lottery.
- West-facing windows: Afternoon sun from about 1 pm to 6 pm. In Singapore, this is harsh and hot. Plants placed directly in west-facing windows can scorch. Pull them back a metre or two, or use sheer curtains to diffuse the light.
- North-facing windows: Consistent, soft indirect light throughout the day. Great for low to medium-light plants.
- South-facing windows: In Singapore (which is near the equator), south-facing windows get relatively even light. Similar to north-facing, with slightly more intensity depending on the season.
HDB and Condo Considerations
- High floors with unobstructed views: More light intensity. Great for most plants, but watch for direct sun scorching.
- Lower floors facing other blocks: Significantly reduced light due to shadows from neighbouring buildings. Stick to low-light tolerant plants (snake plants, ZZ plants, pothos).
- Service yards and balconies: These get good airflow and often bright indirect light. Excellent plant spots, but check for wind damage on delicate foliage.
- Corridors and interior rooms: Very low light. Only the hardiest plants (snake plants) will manage here long-term.
The Bright Indirect Light Test
Most plant care instructions mention "bright indirect light." In practical terms, this means a spot where you can comfortably read a book without turning on a lamp, but where no direct sunbeam hits the plant. In Singapore, this is typically 1-2 metres from an east- or west-facing window, or right next to a north-facing window.
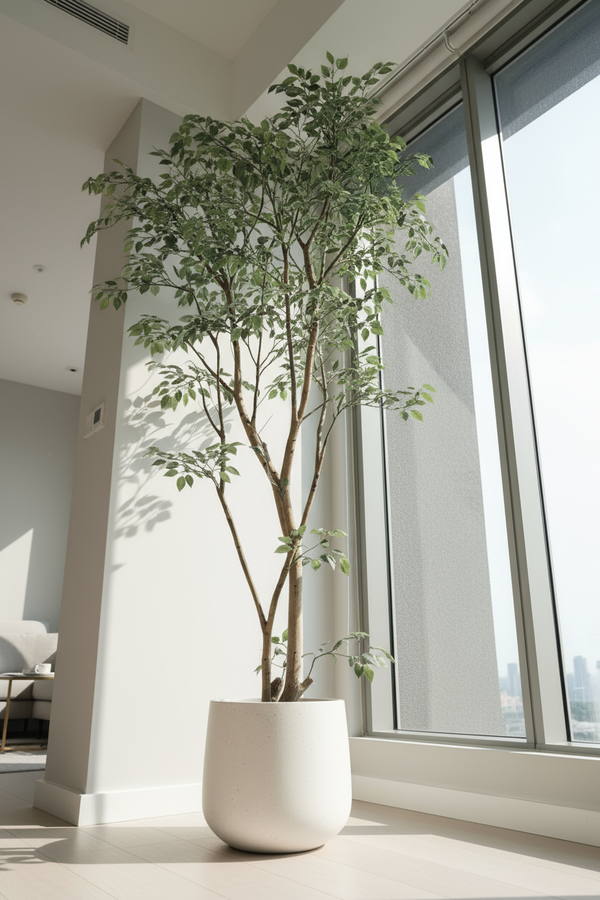
Week 1: Setting Up Your Plant at Home
You have chosen your plant and mapped your light. Now it is time to bring it home and settle it in.
The Adjustment Period
Plants are creatures of habit. When you move a plant from a nursery to your home, it enters a brief adjustment period. During the first 1-2 weeks, you might notice:
- A few lower leaves yellowing and dropping
- Slight drooping
- Slower growth
This is completely normal. The plant is adapting to new light levels, humidity, airflow, and temperature. Do not panic and do not start frantically changing its care routine. Just place it in its designated spot and let it settle.
To Repot or Not to Repot
Resist the urge to repot immediately. Your new plant is already stressed from the move. Give it at least 2-4 weeks to acclimate before repotting. The exception is if the plant is severely root-bound (roots growing out of drainage holes, soil completely displaced by roots) or if the soil is waterlogged and smells foul.
Initial Watering
Water your plant gently when you bring it home, then wait. Check the soil moisture after a few days before watering again. The biggest risk in the first week is overwatering out of excitement.
Week 2: Mastering the Basics of Watering

Watering is where most beginners go wrong, and the mistake is almost always the same: too much water, too often. Singapore's humidity slows evaporation, which means soil stays moist longer than you might expect.
The Finger Test
Forget fixed schedules (every Monday, every three days, etc.). Instead, check the soil:
- Stick your finger 2-3 cm into the soil.
- If it feels dry, water.
- If it feels moist, wait.
This simple test prevents both overwatering and underwatering. As you get more experienced, you will recognise your plant's rhythm — most houseplants in Singapore need watering every 5-10 days, depending on the species, pot size, and environment.
How to Water Properly
- Water thoroughly. When you water, soak the soil until water drains from the bottom of the pot. This ensures the entire root system gets moisture.
- Drain completely. Never leave your plant sitting in a saucer of water. Stagnant water leads to root rot — the number one killer of houseplants.
- Use room-temperature water. Singapore tap water is fine. If you are concerned about chlorine, let a jug sit overnight before using it, but this is not essential for most plants.
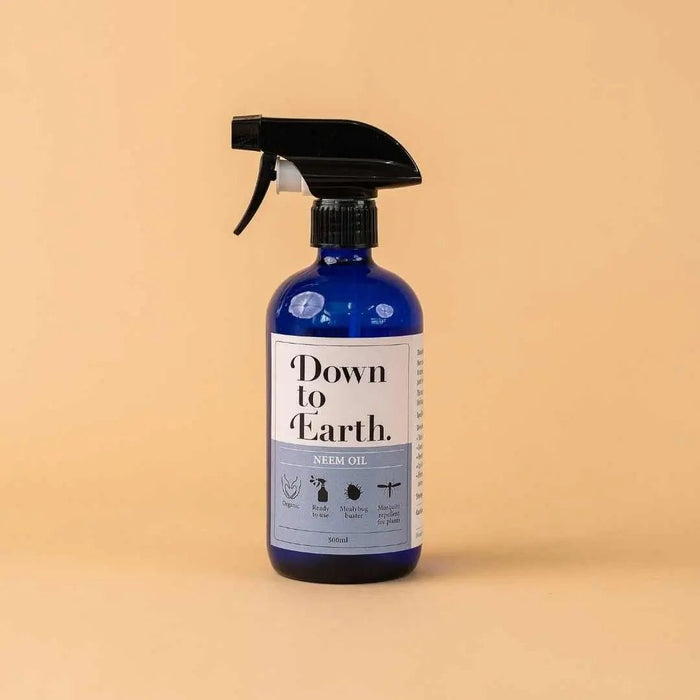
Investing in a Moisture Meter
If the finger test feels unreliable, a moisture meter takes the guesswork out of watering. The 3-in-1 Moisture Meter also measures light levels and soil pH — three useful data points in one inexpensive tool. It is one of the best small investments a beginner can make.
Rainy Season Adjustments
Singapore's northeast monsoon (November to January) brings extended cloudy skies and higher humidity. During this period:
- Soil dries more slowly — extend the gap between waterings.
- Reduce fertilising — lower light means slower growth.
- Watch for fungal issues — increased moisture can encourage mould on the soil surface. Improve airflow around your plants if you notice this.
Week 3: Feeding and Observing
By the third week, your plant should be settled in. Now is a good time to start thinking about nutrition and learning to read your plant's signals.
Fertilising Basics
Plants need nutrients to grow, and potting soil only contains a limited supply. A simple fertilising routine makes a noticeable difference:
- When to start: Wait at least 2-4 weeks after bringing a plant home (or after repotting) before fertilising. The plant needs to establish its roots first.
- What to use: A balanced liquid fertiliser (NPK 10-10-10 or 20-20-20) diluted to half the recommended strength on the label.
- How often: Once a month during active growth. In Singapore, most plants grow year-round, but you can ease off during the monsoon season when light drops.
- Golden rule: Less is more. Over-fertilising burns roots and causes brown leaf tips. You can always add more later; you cannot undo a nutrient burn.
Learning to Read Your Plant
Your plant is constantly communicating. Here is a starter vocabulary:
| Signal | What It Usually Means |
|---|---|
| New leaves or shoots | Happy, healthy, growing |
| Yellowing lower leaves (one or two) | Normal ageing — old leaves die off |
| Many yellow leaves at once | Overwatering, poor drainage, or root rot |
| Brown, crispy leaf tips | Low humidity (aircon), over-fertilising, or underwatering |
| Leggy growth (long stems, small leaves) | Not enough light — move closer to a window |
| Drooping | Thirsty (check soil) or overwatered (check soil) |
| Leaf spots (brown or black) | Fungal or bacterial infection — isolate and treat |
| Sticky residue or tiny white dots | Pests — inspect closely for mealybugs or scale |
Week 4: Common Newbie Mistakes (and How to Avoid Them)

You have survived three weeks. Here are the pitfalls that catch most beginners in the first month — and beyond.
Mistake 1: Overwatering
We have covered this, but it bears repeating because it is the number one cause of houseplant death in Singapore. The combination of high humidity and enthusiasm leads to waterlogged soil, suffocated roots, and eventual rot. When in doubt, wait another day before watering.
Mistake 2: Not Enough Light
Many people place plants in spots that look nice aesthetically but receive very little light — a dark bookshelf, a windowless bathroom, the centre of a large room far from any window. If your plant is not growing or looks stretched out, light is almost certainly the issue. Move it closer to a window.
Mistake 3: Ignoring Drainage
Decorative pots without drainage holes are everywhere, and they are a trap for beginners. Always plant in a nursery pot with drainage holes, then place that pot inside the decorative cover pot. When you water, lift the plant out, water over a sink, let it drain, and put it back. This simple habit prevents root rot.
Mistake 4: Moving Plants Too Often
Every time you move a plant, it needs to readjust. Constantly shifting plants from room to room stresses them. Choose a spot, commit to it, and only move the plant if it is clearly struggling in that location.
Mistake 5: Panicking Over Leaf Drop
A few yellow or dropped leaves in the first few weeks is normal. It is part of the adjustment process. As long as new growth is appearing, your plant is fine. Only worry if leaf loss is rapid and widespread.
Mistake 6: Comparing Your Plant to Instagram
Social media plants are photographed in ideal conditions with perfect lighting. Your plant in your HDB flat will look different, and that is completely fine. Growth rates, leaf sizes, and overall appearance vary hugely depending on conditions. Focus on keeping your plant healthy, not on making it look like a styled photo.
Mistake 7: Skipping the Research
Each plant species has different needs. A watering schedule that works for your snake plant will drown your succulent and dehydrate your peace lily. Spend five minutes looking up the basic care requirements for each plant you own. It makes an enormous difference.
Beyond Day 30: What Comes Next
Congratulations — you have made it through your first month. Your plant is (hopefully) alive and producing new growth. Here is what to think about going forward:
When to Repot
Repot when you see roots growing out of the drainage holes, when the plant dries out extremely quickly after watering (a sign that roots have displaced most of the soil), or when growth stalls despite good light and feeding. In Singapore, repotting can be done at any time of year. Move up only one pot size at a time.
Growing Your Collection
Once you have one thriving plant, the temptation to add more is irresistible. Go for it — but grow your collection gradually. Each new plant is a learning opportunity. Start branching into species that need slightly more care: a peace lily, a monstera, or a calathea. Browse our low-maintenance collection for plants that are just one step up from the absolute beginners.
Joining the Community
Singapore has an active plant community. Facebook groups, Instagram hashtags (#SGplants, #SGplantparent), and weekend plant markets are great ways to learn, trade, and connect with fellow growers. You will pick up more tips from experienced local growers than from any number of care guides written for temperate climates.
Your First 30 Days: A Quick Checklist

Here is a summary you can reference anytime:
Day 1-3:
- [ ] Choose a beginner-friendly plant
- [ ] Map the light in your home
- [ ] Place the plant in a suitable spot
- [ ] Water gently and let it settle
Day 4-14:
- [ ] Do not repot yet
- [ ] Do not panic over a few dropped leaves
- [ ] Start checking soil moisture with the finger test
- [ ] Learn your plant's watering rhythm
Day 15-21:
- [ ] Begin a gentle fertilising routine (half strength, once a month)
- [ ] Observe your plant's signals — new growth, leaf colour, posture
- [ ] Wipe dust off leaves with a damp cloth
Day 22-30:
- [ ] Review your watering habits — are you overwatering?
- [ ] Consider a 3-in-1 Moisture Meter to remove guesswork
- [ ] Start researching your next plant
- [ ] Welcome to the hobby
Final Thoughts
Plant parenthood is not about having a green thumb. It is about paying attention. The plants that thrive in Singapore homes are the ones whose owners take a moment to check the soil before watering, notice when a leaf is reaching toward the light, and resist the urge to fuss too much. Your first 30 days are about building these small habits — and once they click, keeping plants alive becomes second nature.
Start simple. Be patient. Let the plant tell you what it needs. And when you are ready to expand your indoor garden, we are here to help you find the next perfect addition.
Welcome to the club.
Quick summary
Key Takeaways
- Week 1: Choosing Your First Plant
- Week 1: Understanding Light in Your Home
- Week 1: Setting Up Your Plant at Home
- Week 2: Mastering the Basics of Watering
- Week 3: Feeding and Observing
- Week 4: Common Newbie Mistakes (and How to Avoid Them)
Ready to bring some green into your home?
Browse 250+ hand-picked plants, curated for Singapore homes — delivered to your door.
Browse All Plants →